DIY CHALK PAINT
I’ve been reading all about Annie Sloan chalk paint and here wonderful things about it, so I was intrigued… After some initial research I realized its a bit to costly for my liking, I am a barginista!
So I decided to make my own chalk paint. After searching reviews of several types of recipes I decided to go with this one and was very pleased. I am hooked on chalk paint and will paint with no other!
- Plaster of Paris – 2 healthy heaps using the edge of a paint stirrer
- Paint, latex base – 1 cup
- Hot water – 2 -3 tablespoons
- Finishing wax, as needed
- Paint brushes – I used chip brushes which were very inexpensive and worked great for my projects!
- Sand paper, I used 100 grit

1 – Take your heaps of Plaster of Paris and mix with 2 – 3 tablespoons of hot water until its completely dissolved
2 – Add your 1 cup of paint and mix
3 – Start painting! First paint the areas you want to show through when you distress, for this particular project I used Gray Pewter by Behr. I did 2-3 coats of the gray. Then I painted 2-3 coats of the top coat, Marshmallow white by Behr. ( if you are going to stain any part of your project I would do the staining first then move to the painting process)
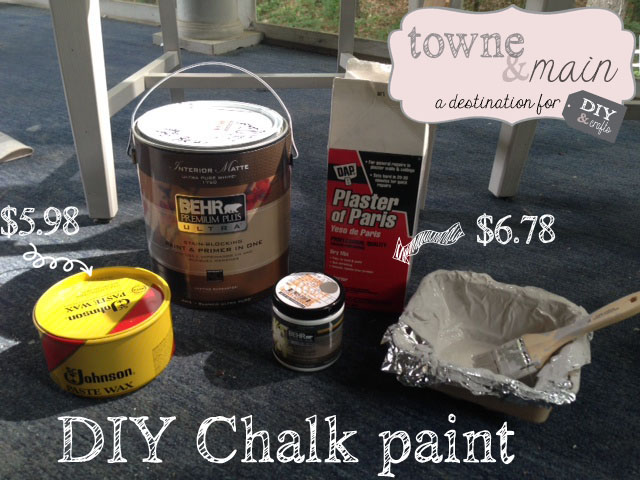
*tip – a tester size of paint from Behr is $2.99 and just shy of a cup, mixed with Plaster of Paris it goes a long way! Don’t invest in quarts or gallons just yet if you don’t have too.
For this piece of furniture I bought 1 tester of gray pewter (under color) and I had a gallon of paint left over, that I used for the top color. The beauty of chalk paint is that you don’t have to treat or prime your piece, you can just paint right over its current finish and it dries fast! Easy and instantly gratifying!
4 – Once you are finished painting take the sand paper and sand away the areas you want distressed, depending on how many coats of paint you use this could either sand away easily or take a little elbow grease. Start sanding lightly to see how it works out then finish your piece.
5 – To protect the paint you need to wax the piece completely, this will help seal in the paint and give it a nice protective coat. I recommend doing it at least 2 times.
Now I used Johnsons wax paste (in the cleaning area at Home Depot) it was only $5.98 it works just fine – http://www.homedepot.com/s/johnsons+paste+wax?NCNI-5
In the future I may try Minwax to see the differences between the 2 other than costs – http://www.homedepot.com/p/Minwax-1-lb-Paste-Finishing-Wax-785004444/100376194
Links for other products used – Plaster of Paris $6.78 at HD – http://www.homedepot.com/p/DAP-4-lb-White-Plaster-of-Paris-Dry-Mix-10318/100126904
Chip brushes come in a few sizes and are really inexpensive! http://www.homedepot.com/s/chip%2520brushes?NCNI-5
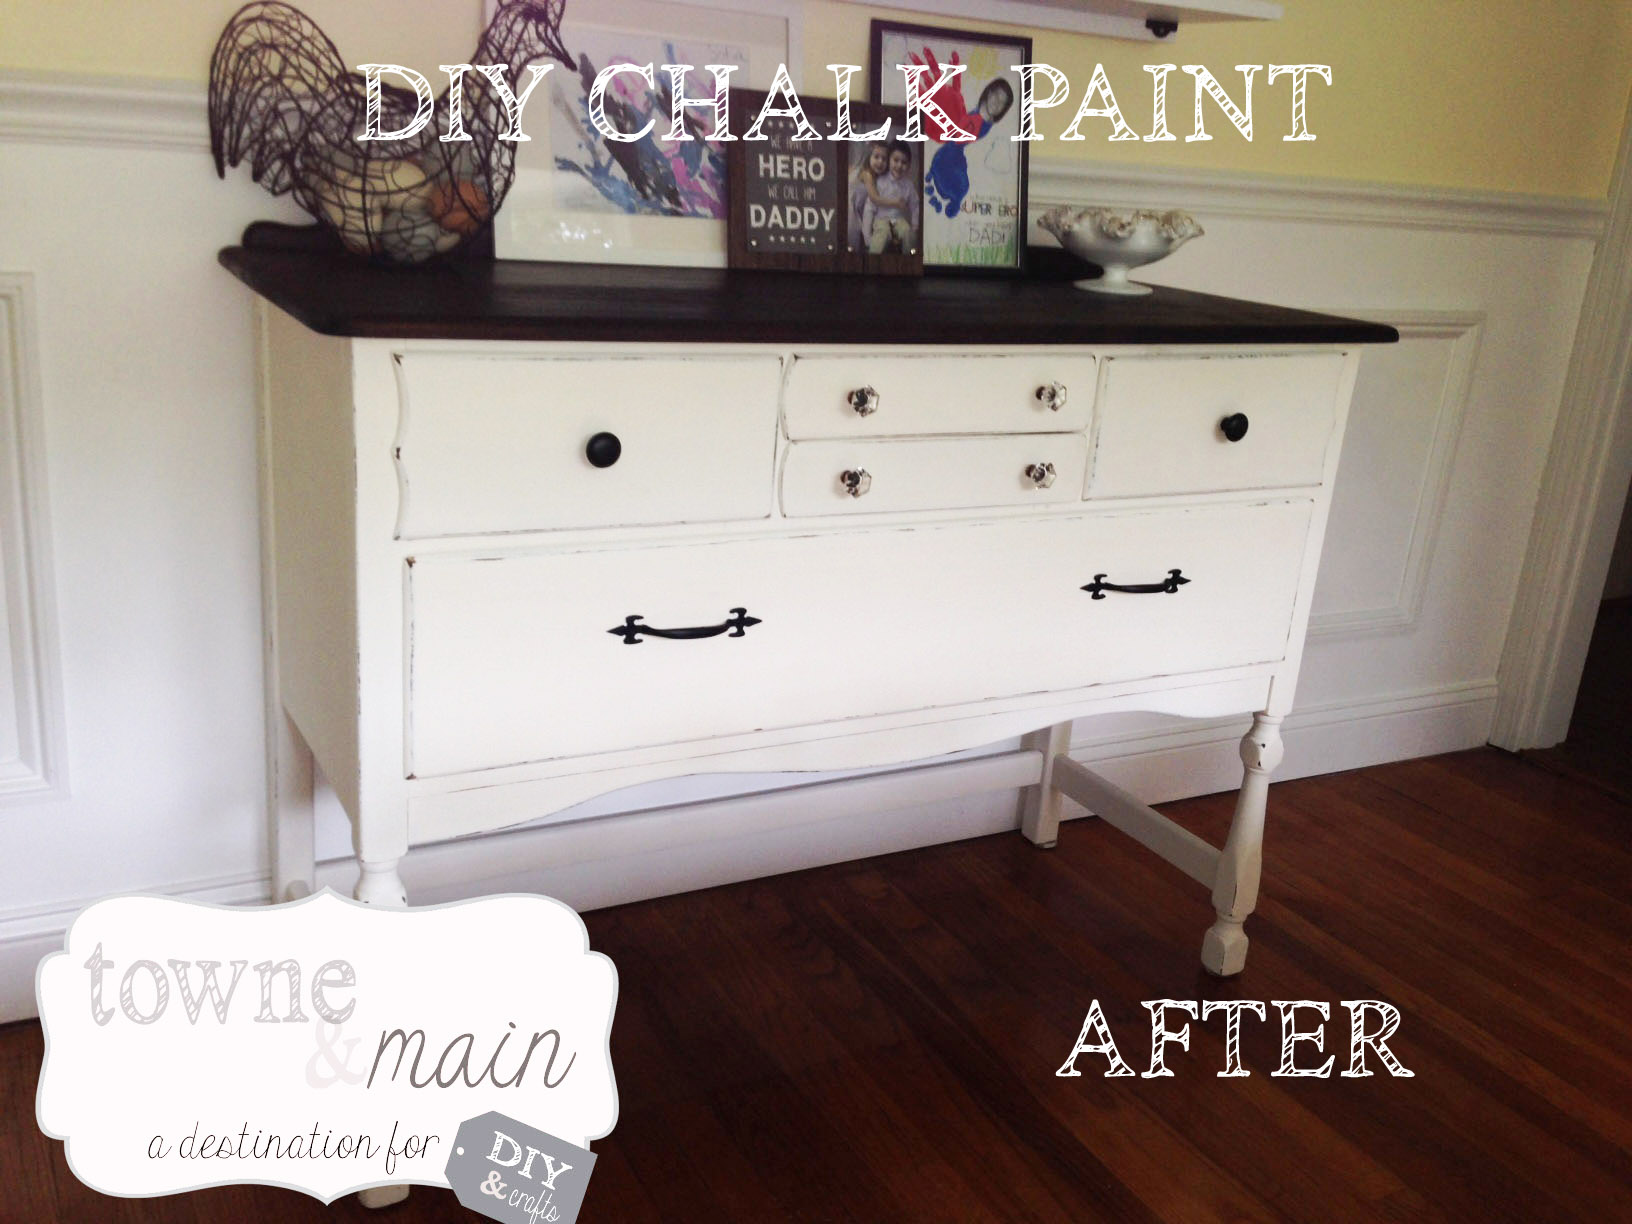
THE HUNT AND FIND – The whole thrill of rehabbing is finding the diamond in the rough. I love to use Craigslist, yard sales and the Salvation Army to find my pieces. I have had great success with Craigslist and my latest find was this buffet (sideboard) that would go perfectly in my dining room! It was only $30 bucks, a steal! it was in fabulous shape and a solid piece. I decided that I wanted to keep the top a dark stained wood so I had my wonderful husband sand the top down for me and we stained it using Minwax dark walnut, its rich and goes well with the paint. I bought some new knobs for the top drawers and just sprayed the knobs on the larger drawer in black.
Here is my piece before I painted it. 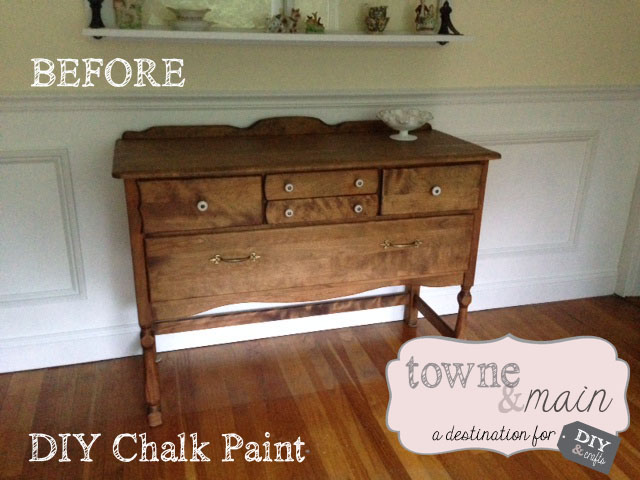

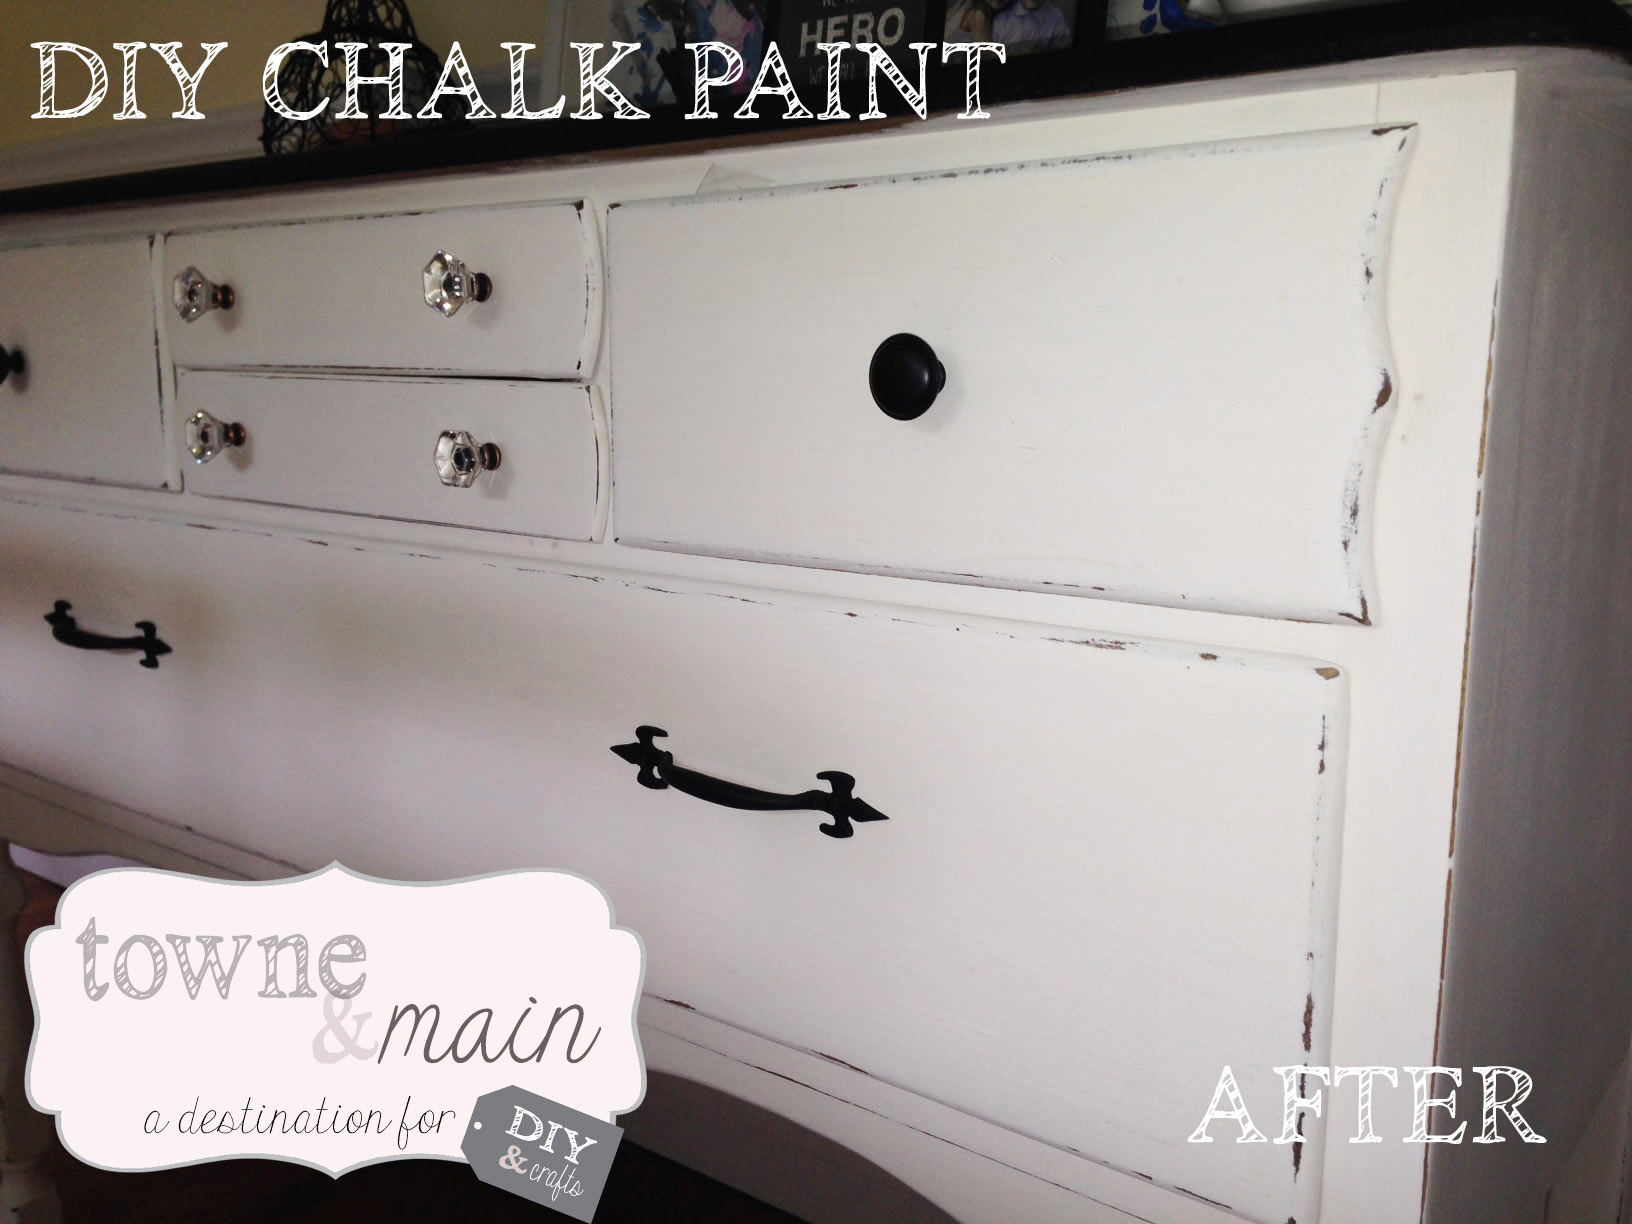
The finished product, I absolutely love it and its by far my favorite project to date. Ready to hunt down my next project!


Close up details of the distressing. Remember you can go as light or as heavy you want with the sand paper to achieve the distressing you like best!
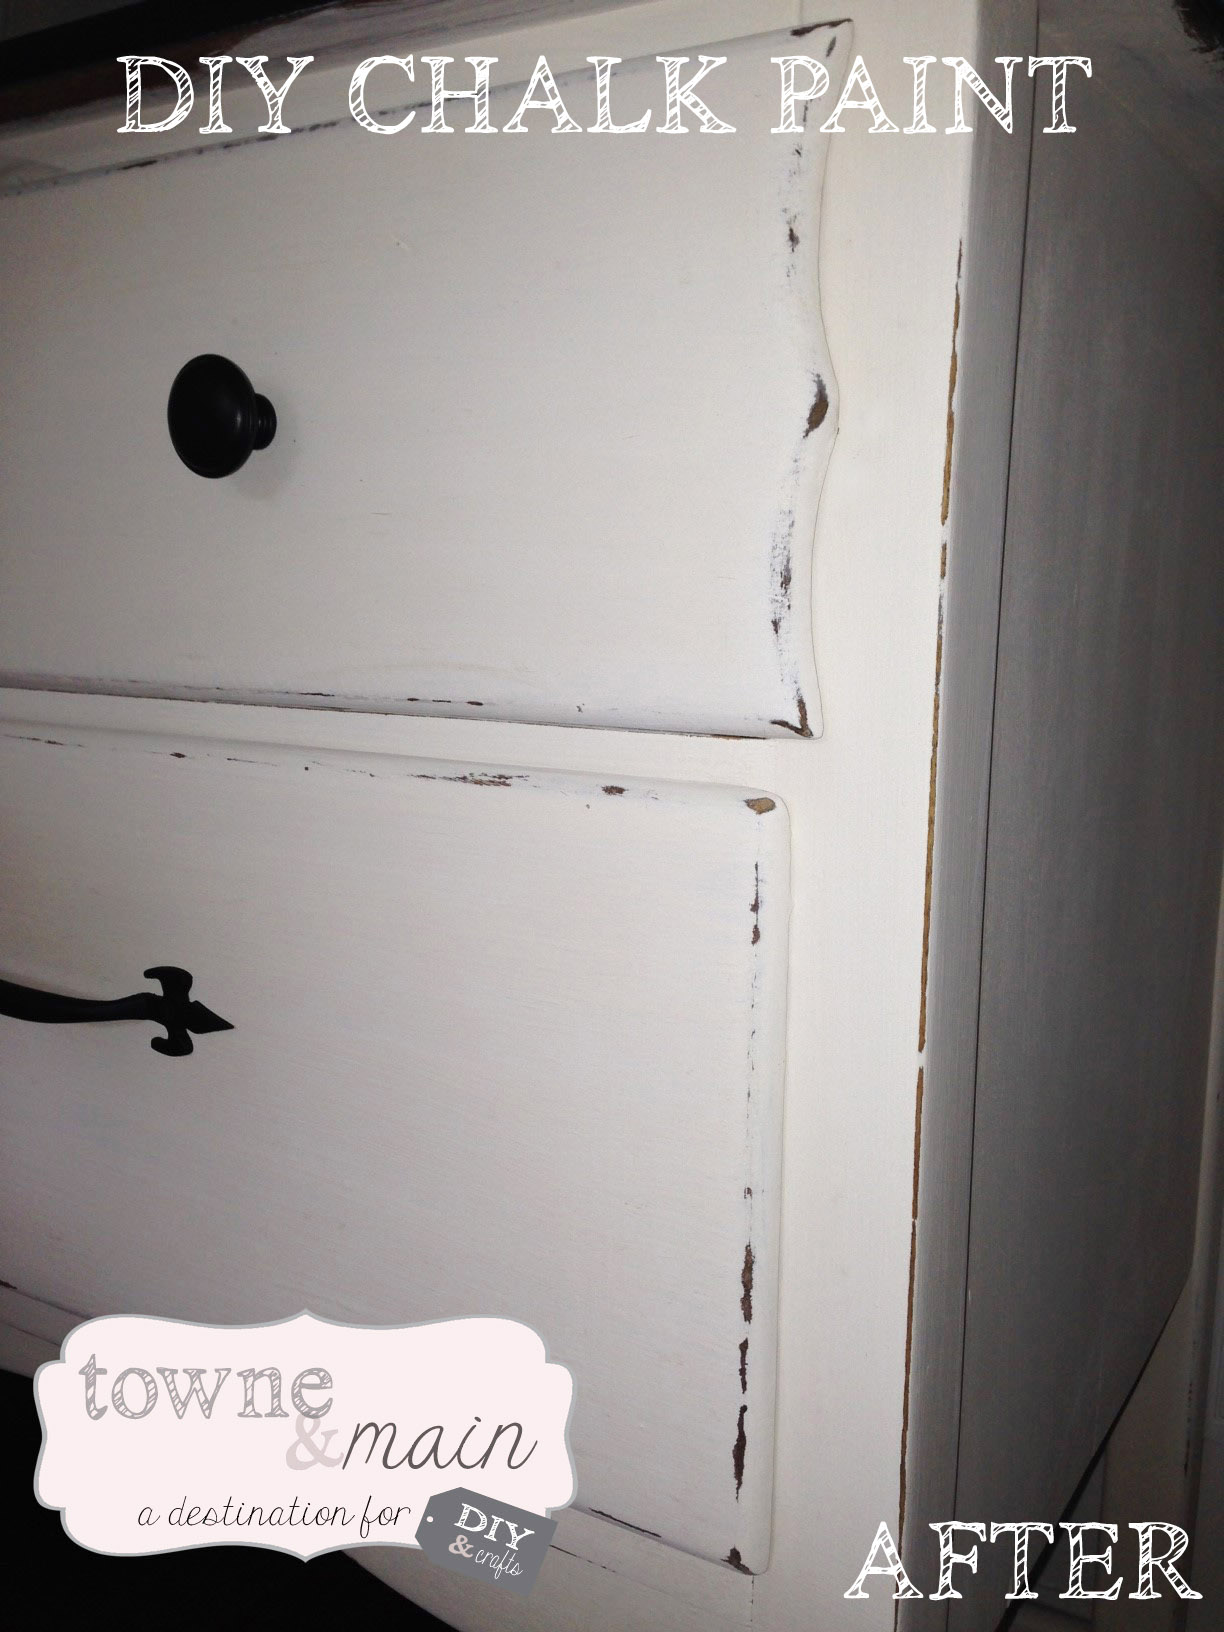

I love how the knobs turned out on this piece, they were relatively inexpensive from Home Depot. I sprayed the existing knobs on the bottom large drawer in black because I liked them so much!