If you have kids there’s a good chance you have Legos, and if you have Legos then you know they are a pain to manage – THEY END UP EVERYWHERE!!! in the vacuum, under foot (ouch!), behind furniture, at the bottom of baskets and just all over the place really…
My kids love Legos especially my son, and he’s only getting into those big sets with 700+ pieces Oy vey! So I needed to come up with some inexpensive ways to create added play surface and storage space….
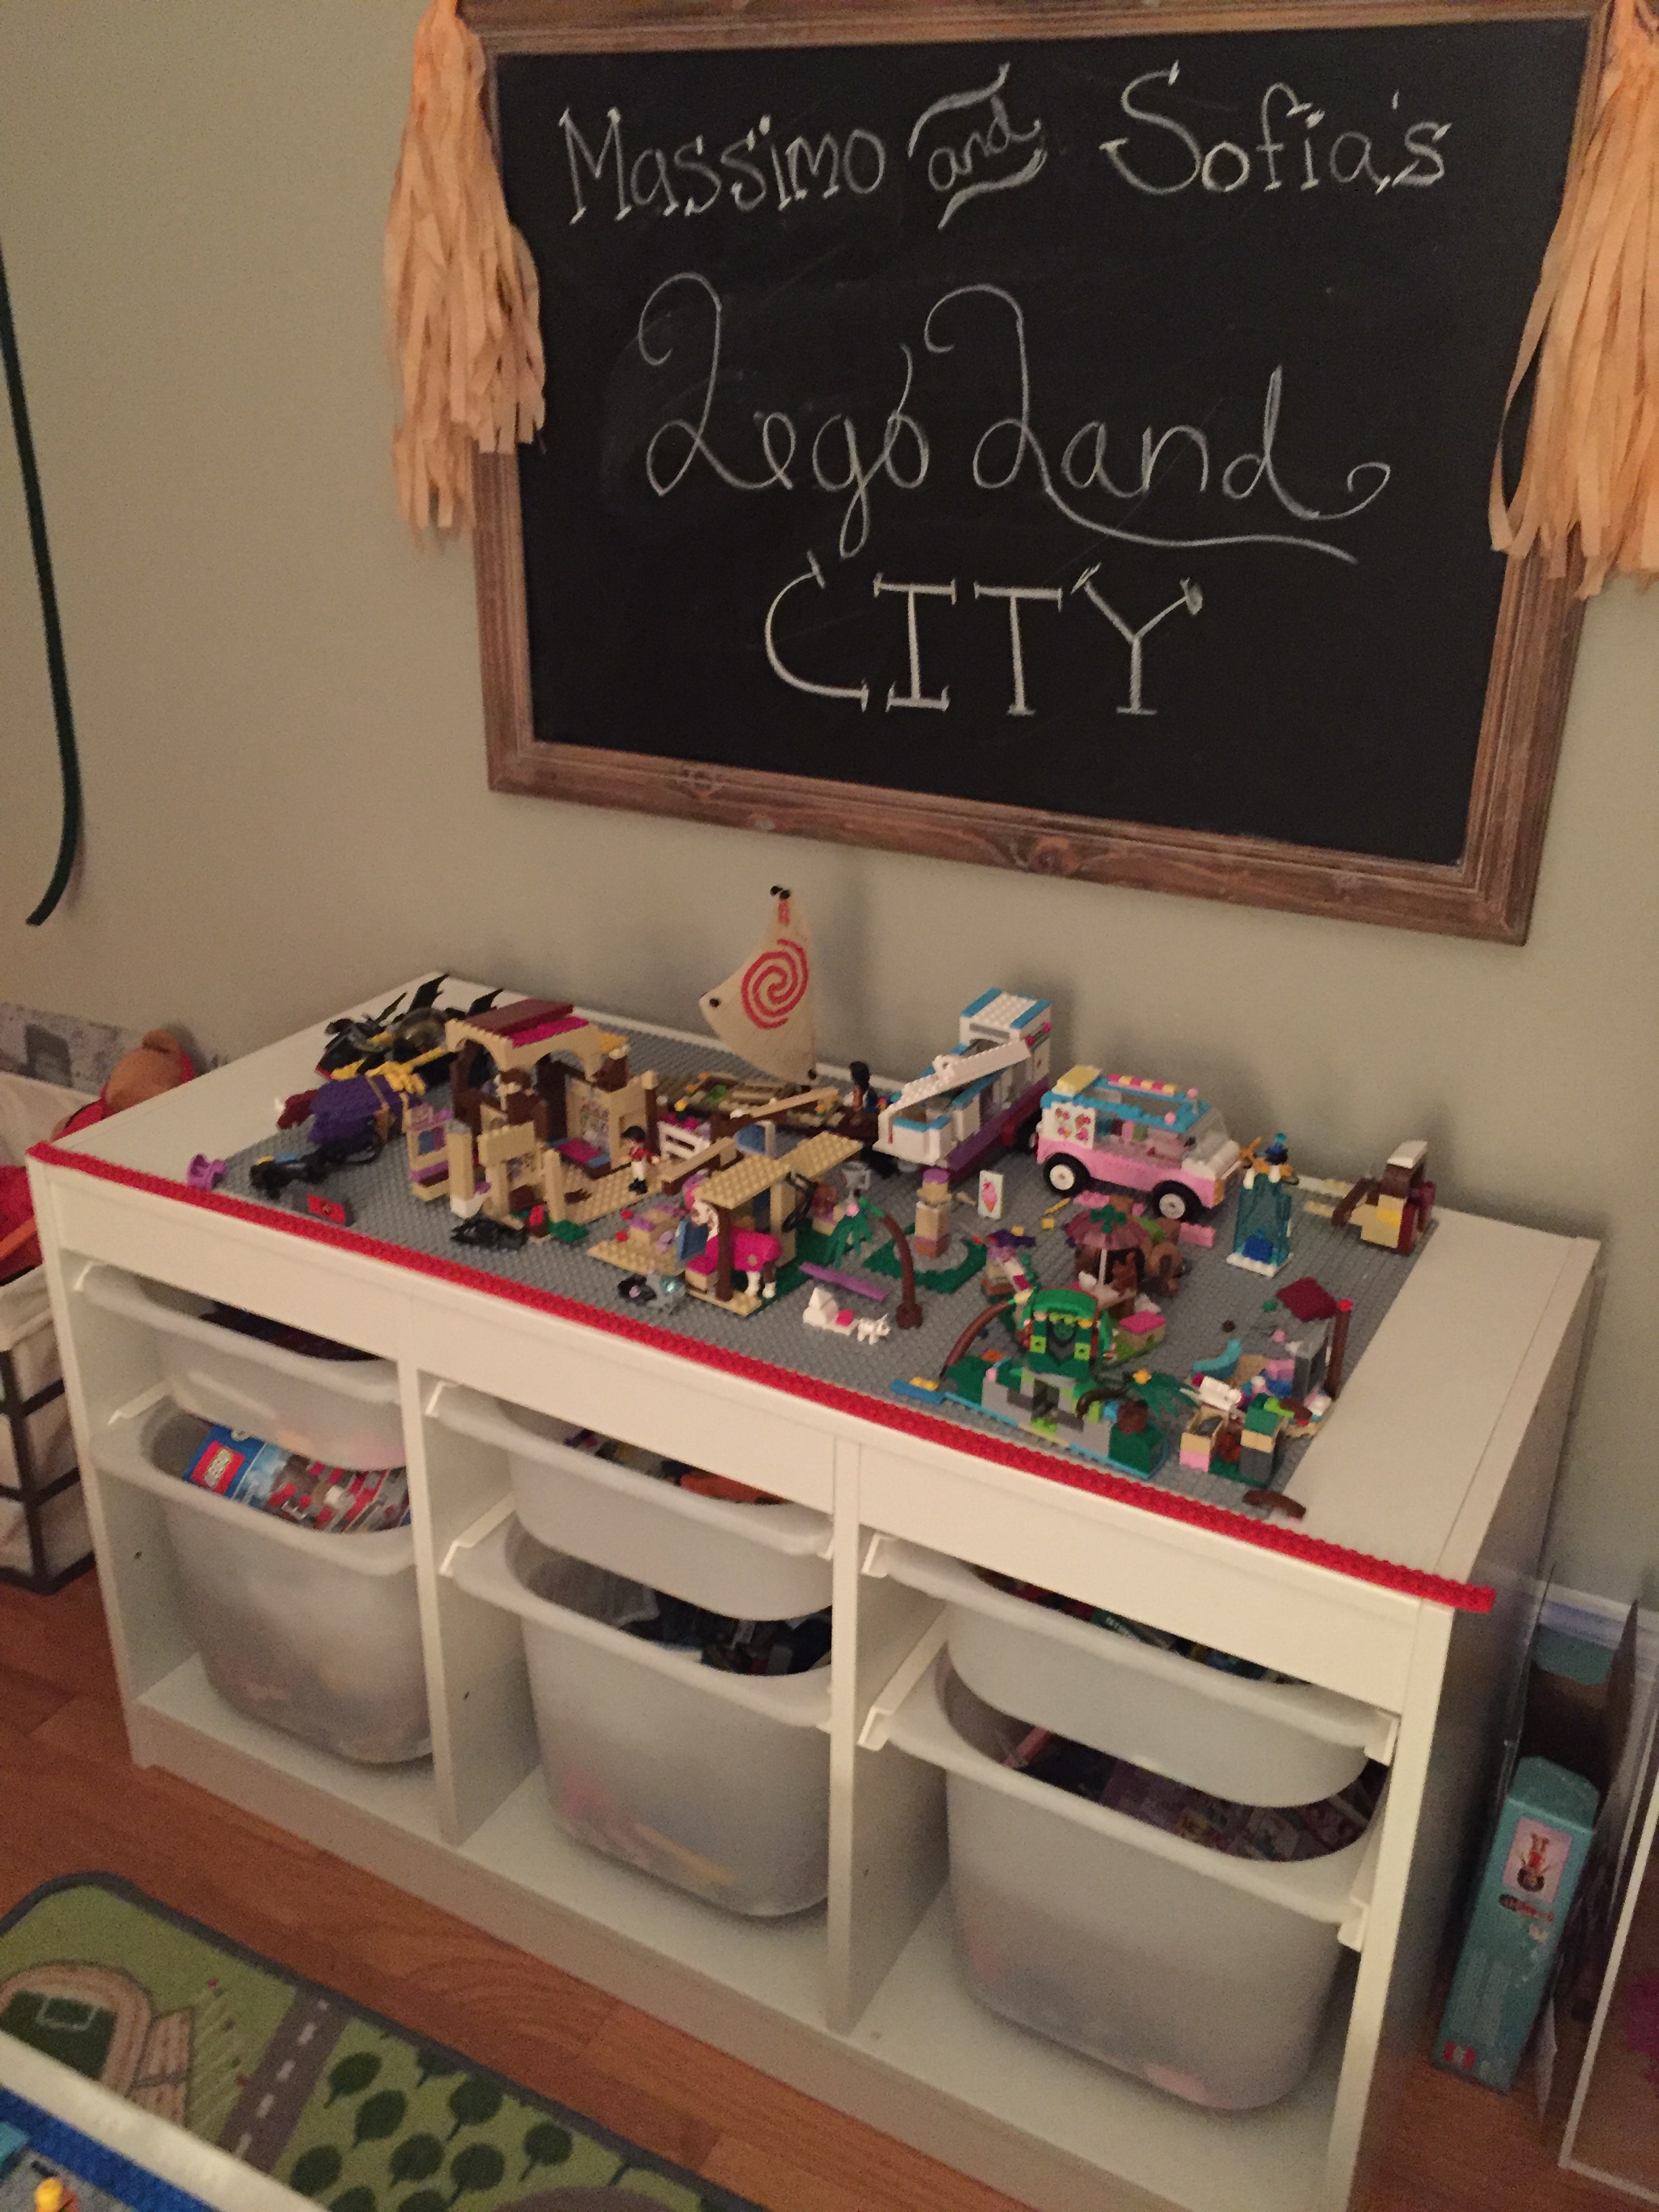
First off storage – huge for Legos since there literally are millions of them! I found this at Ikea it was perfect and fit in the space I had in mind. For $48 you can’t go wrong and it was easy to assemble! http://www.ikea.com/us/en/catalog/products/S69228473/
I got 2, 15″ Lego plates from Amazon – https://www.amazon.com/European-LEGO-Building-Platform-10701/dp/B00NVDJKN6/ref=sr_1_1?s=toys-and-games&ie=UTF8&qid=1515364257&sr=1-1&keywords=15%22+gray+lego+plate
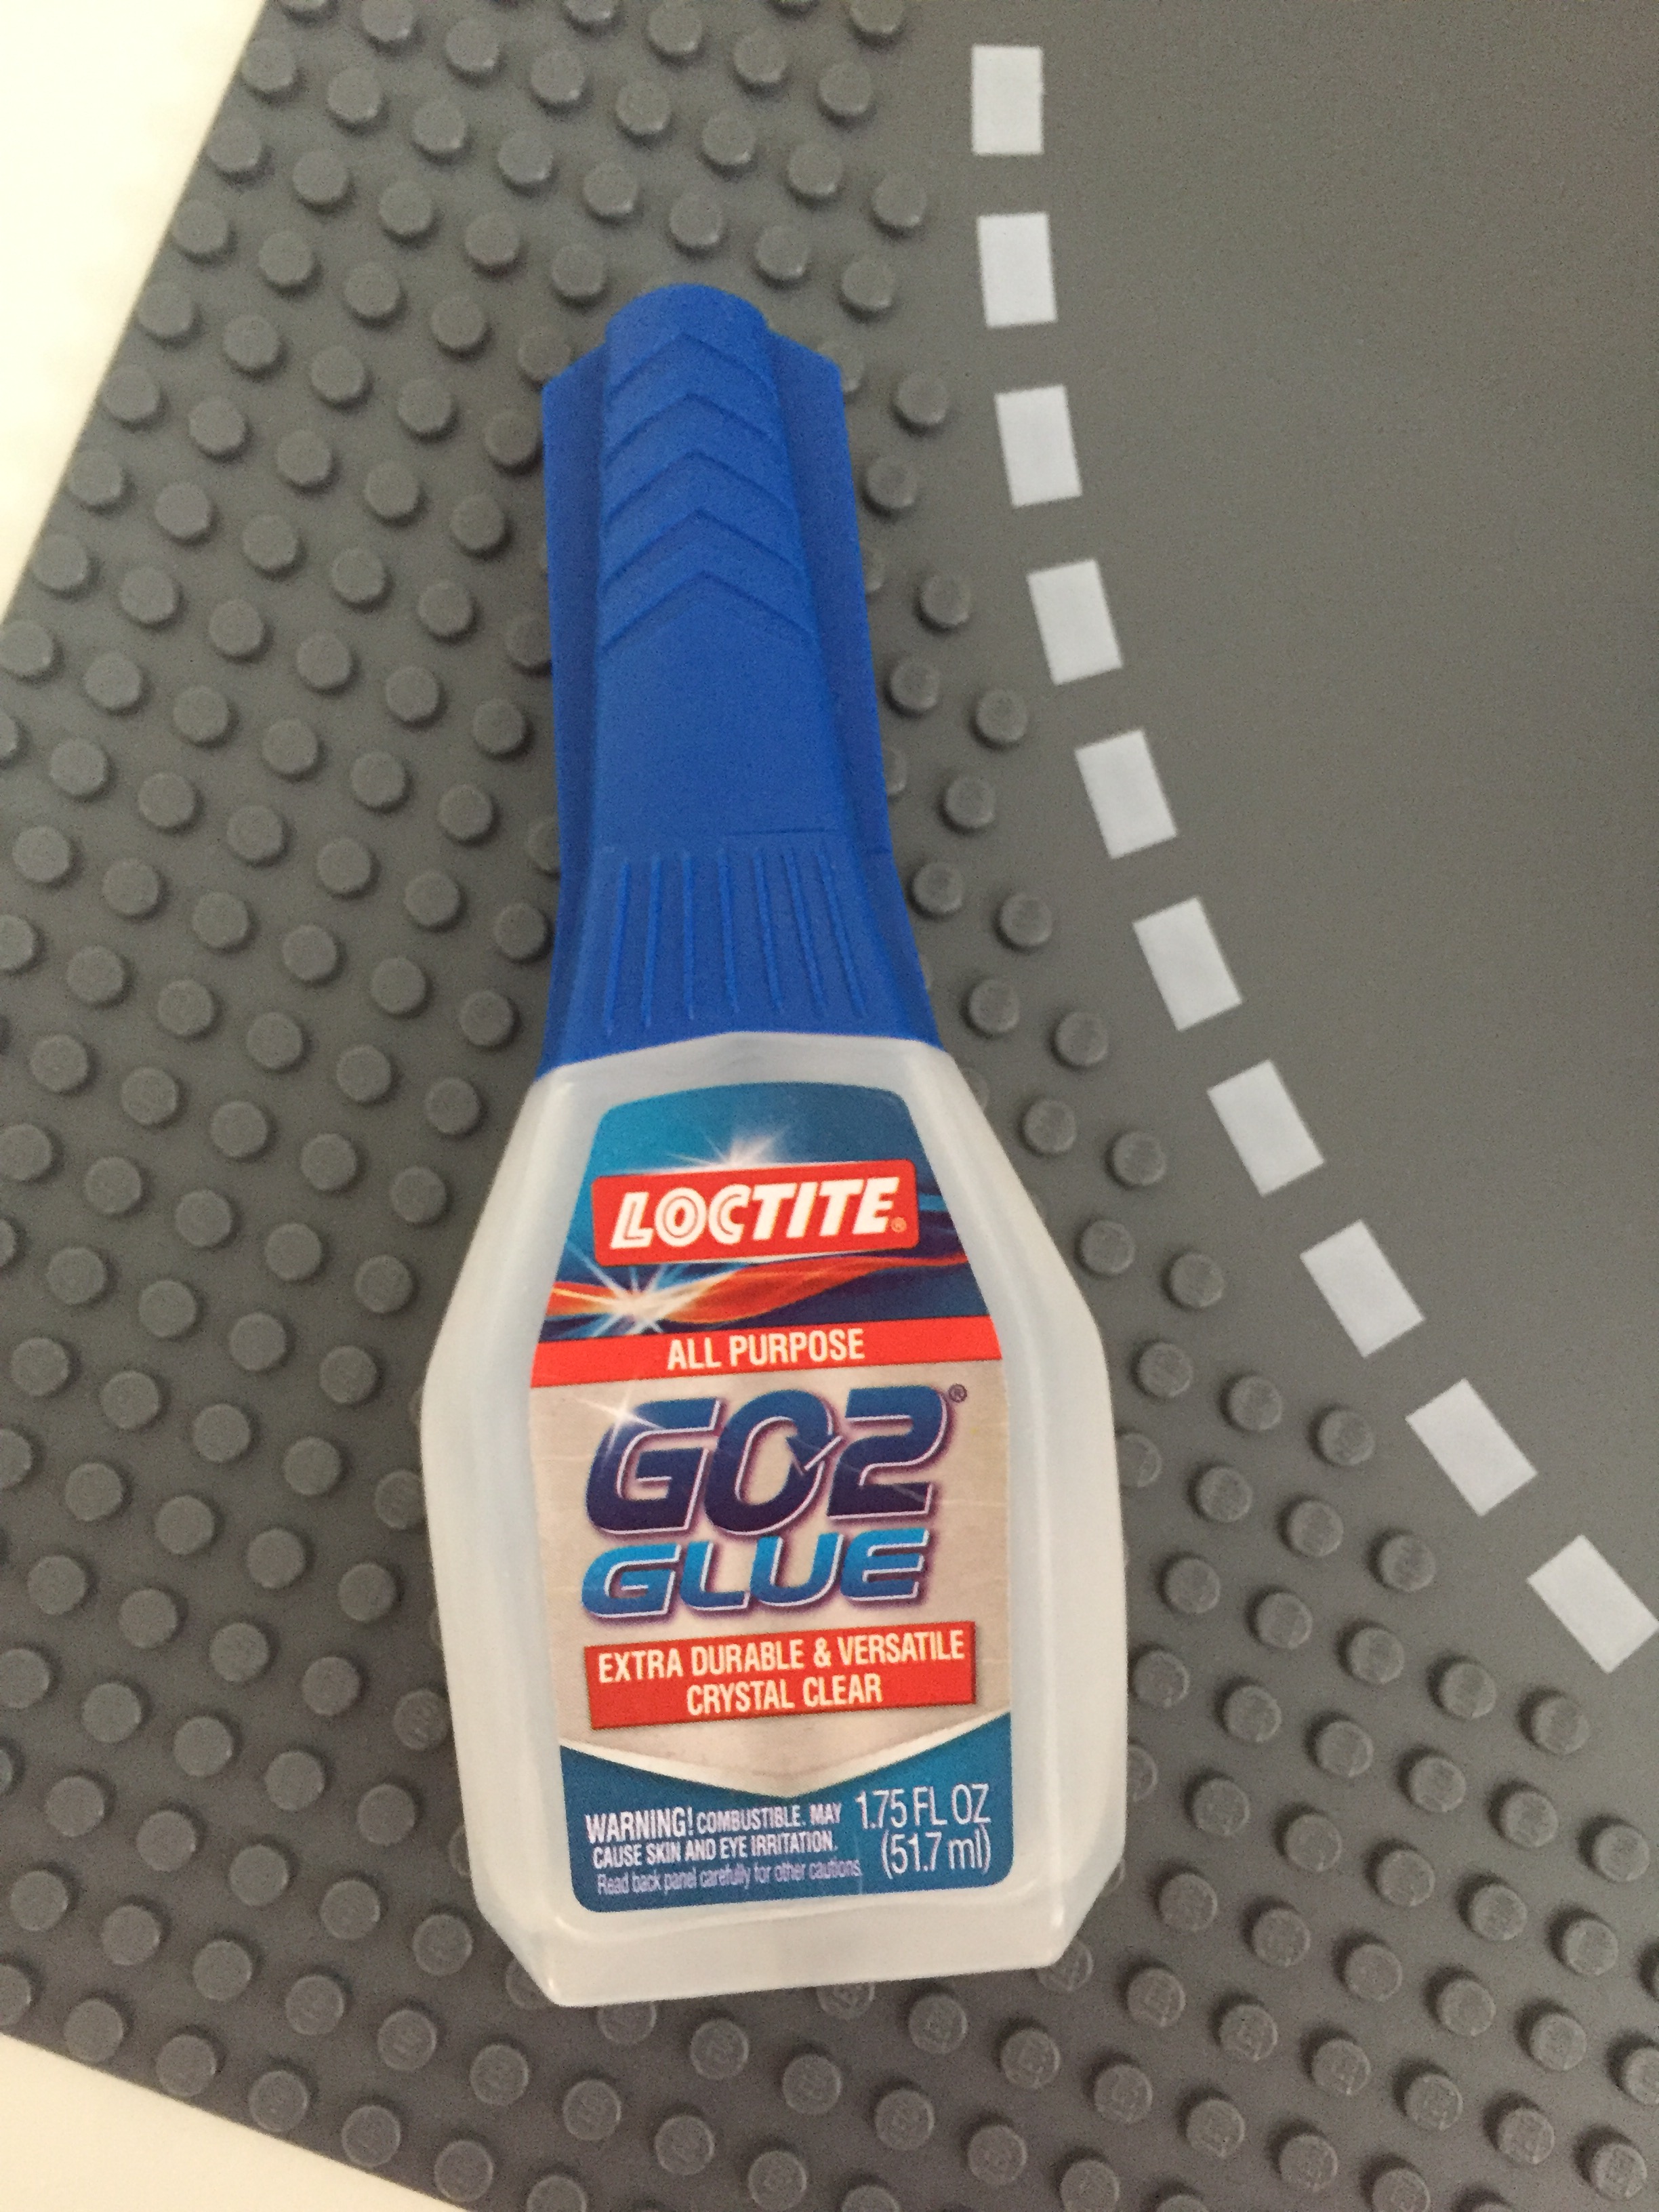
I used Loctite glue and put the plates in place and let dry overnight…
.
So here is how it turned out – Its perfect! now my toy room is not staged to look perfect for photos or blogs they are in their natural state – haha being played with!

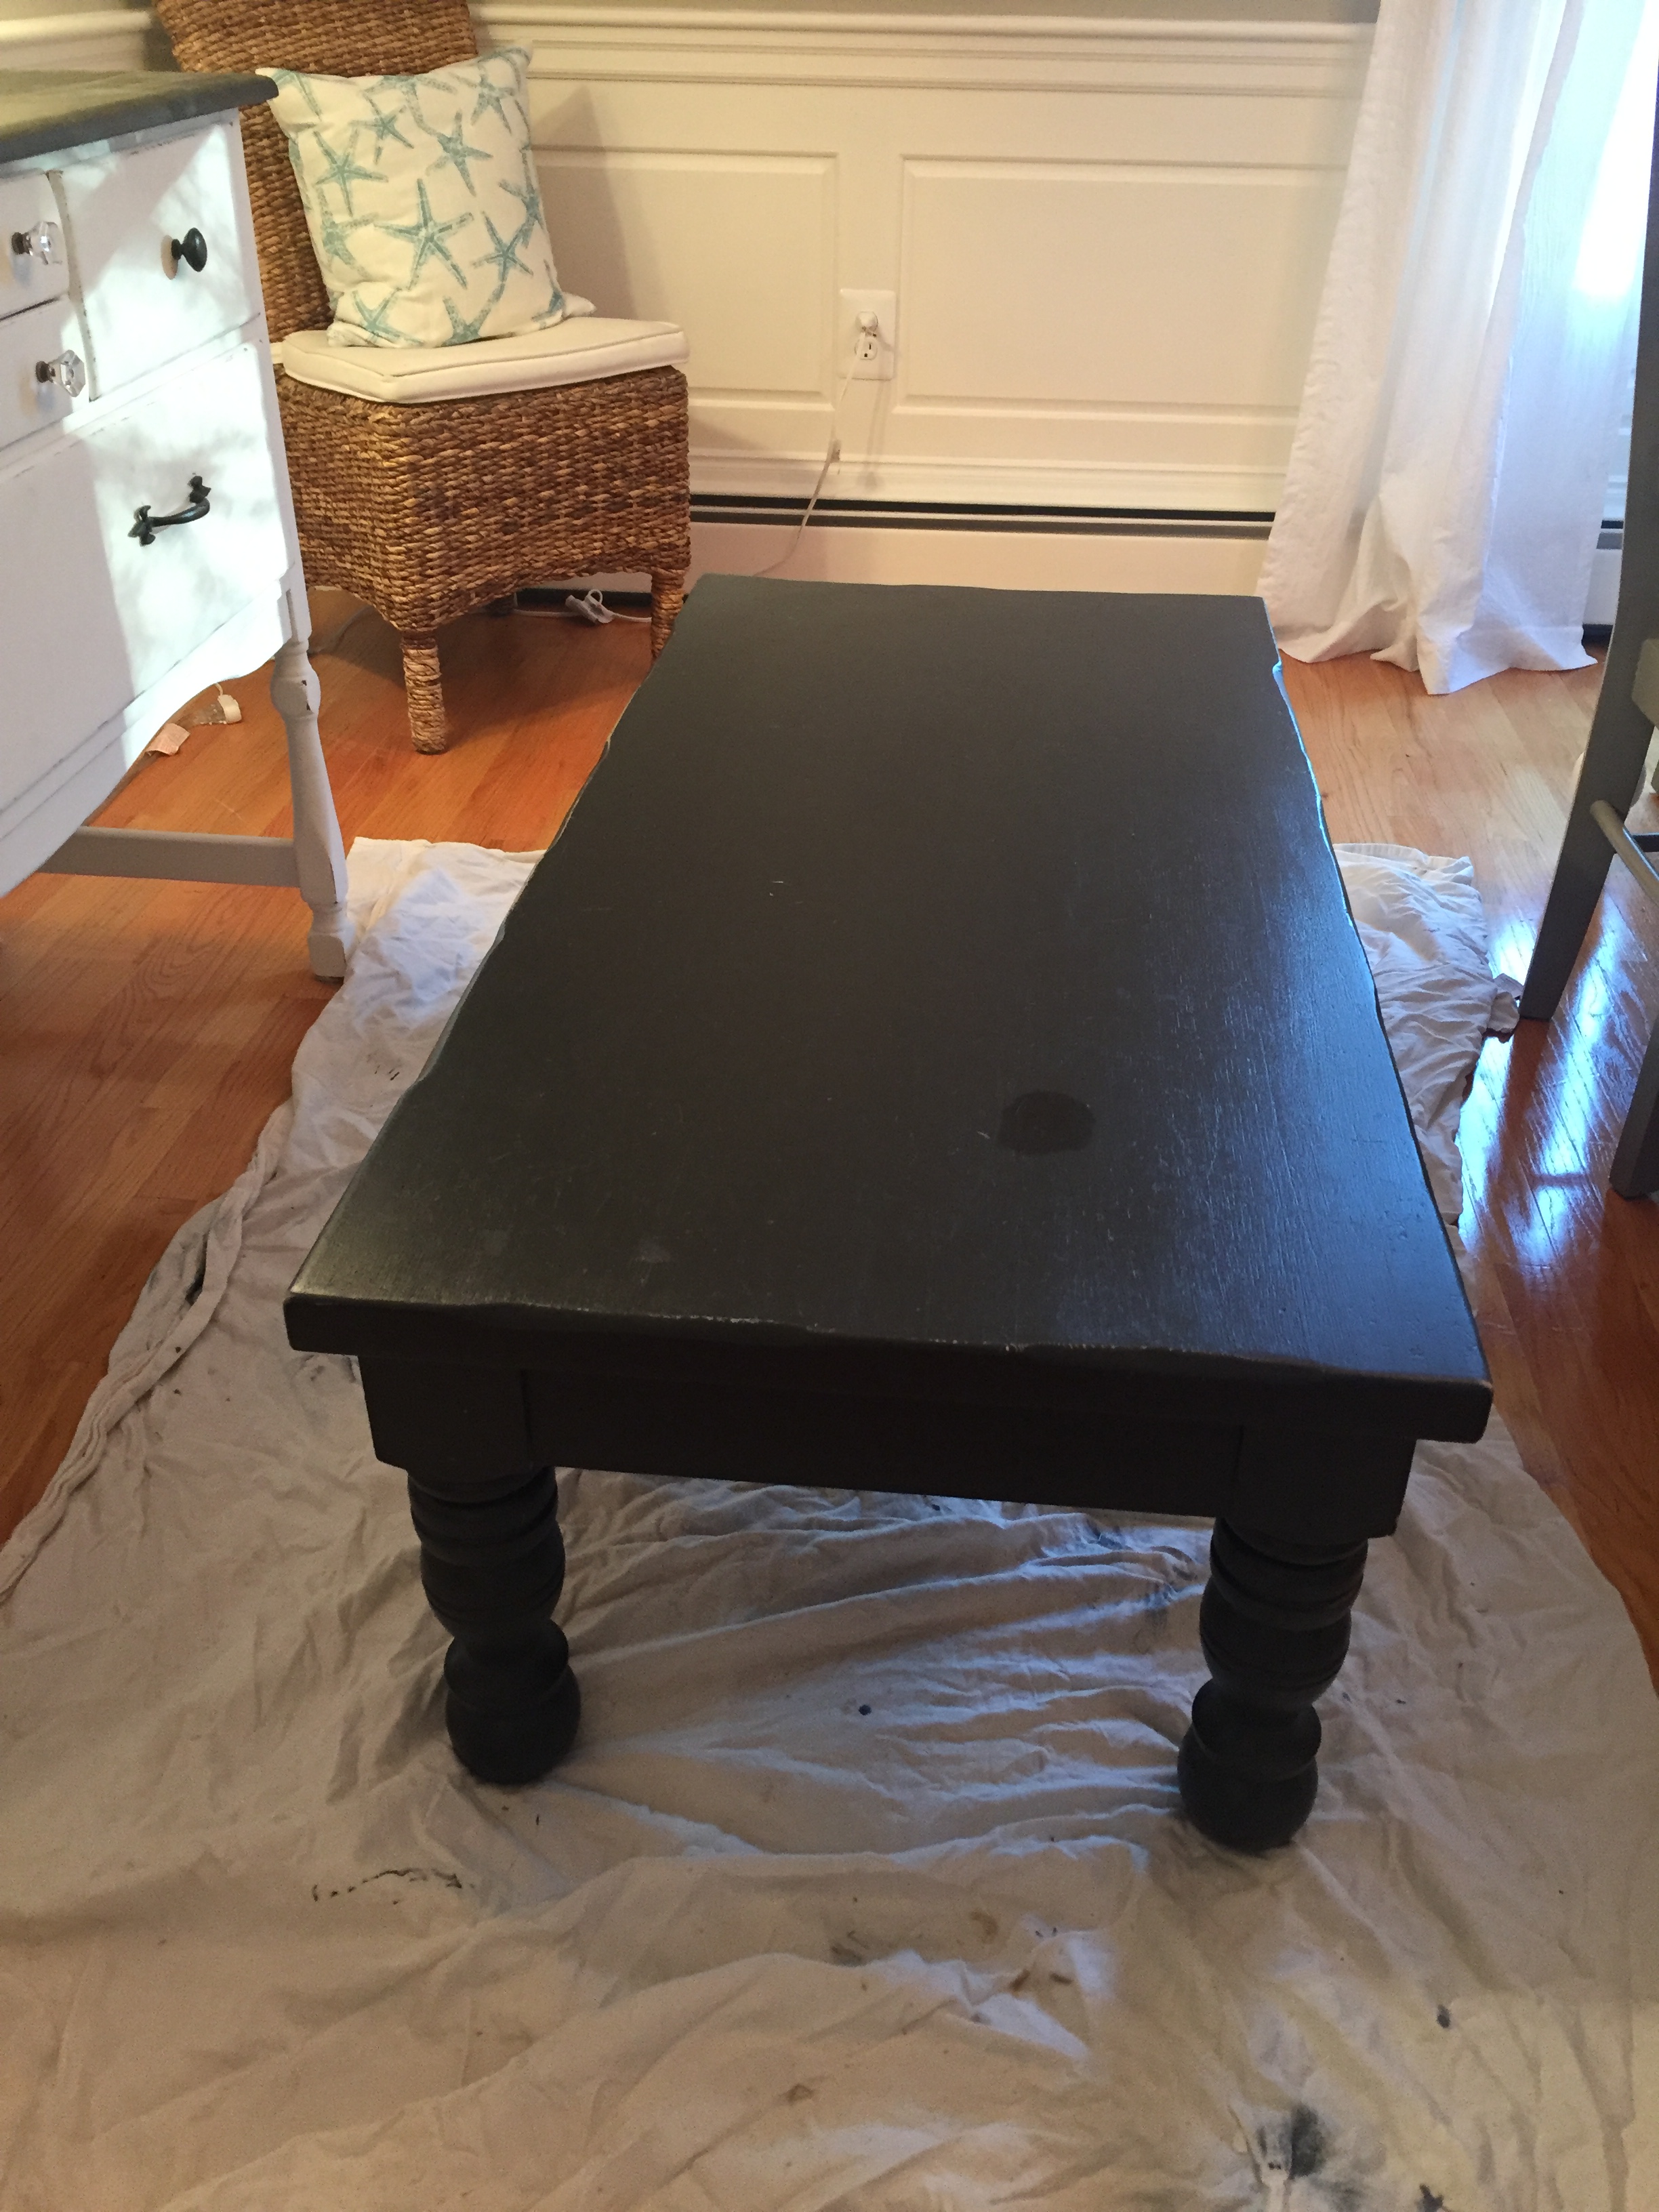
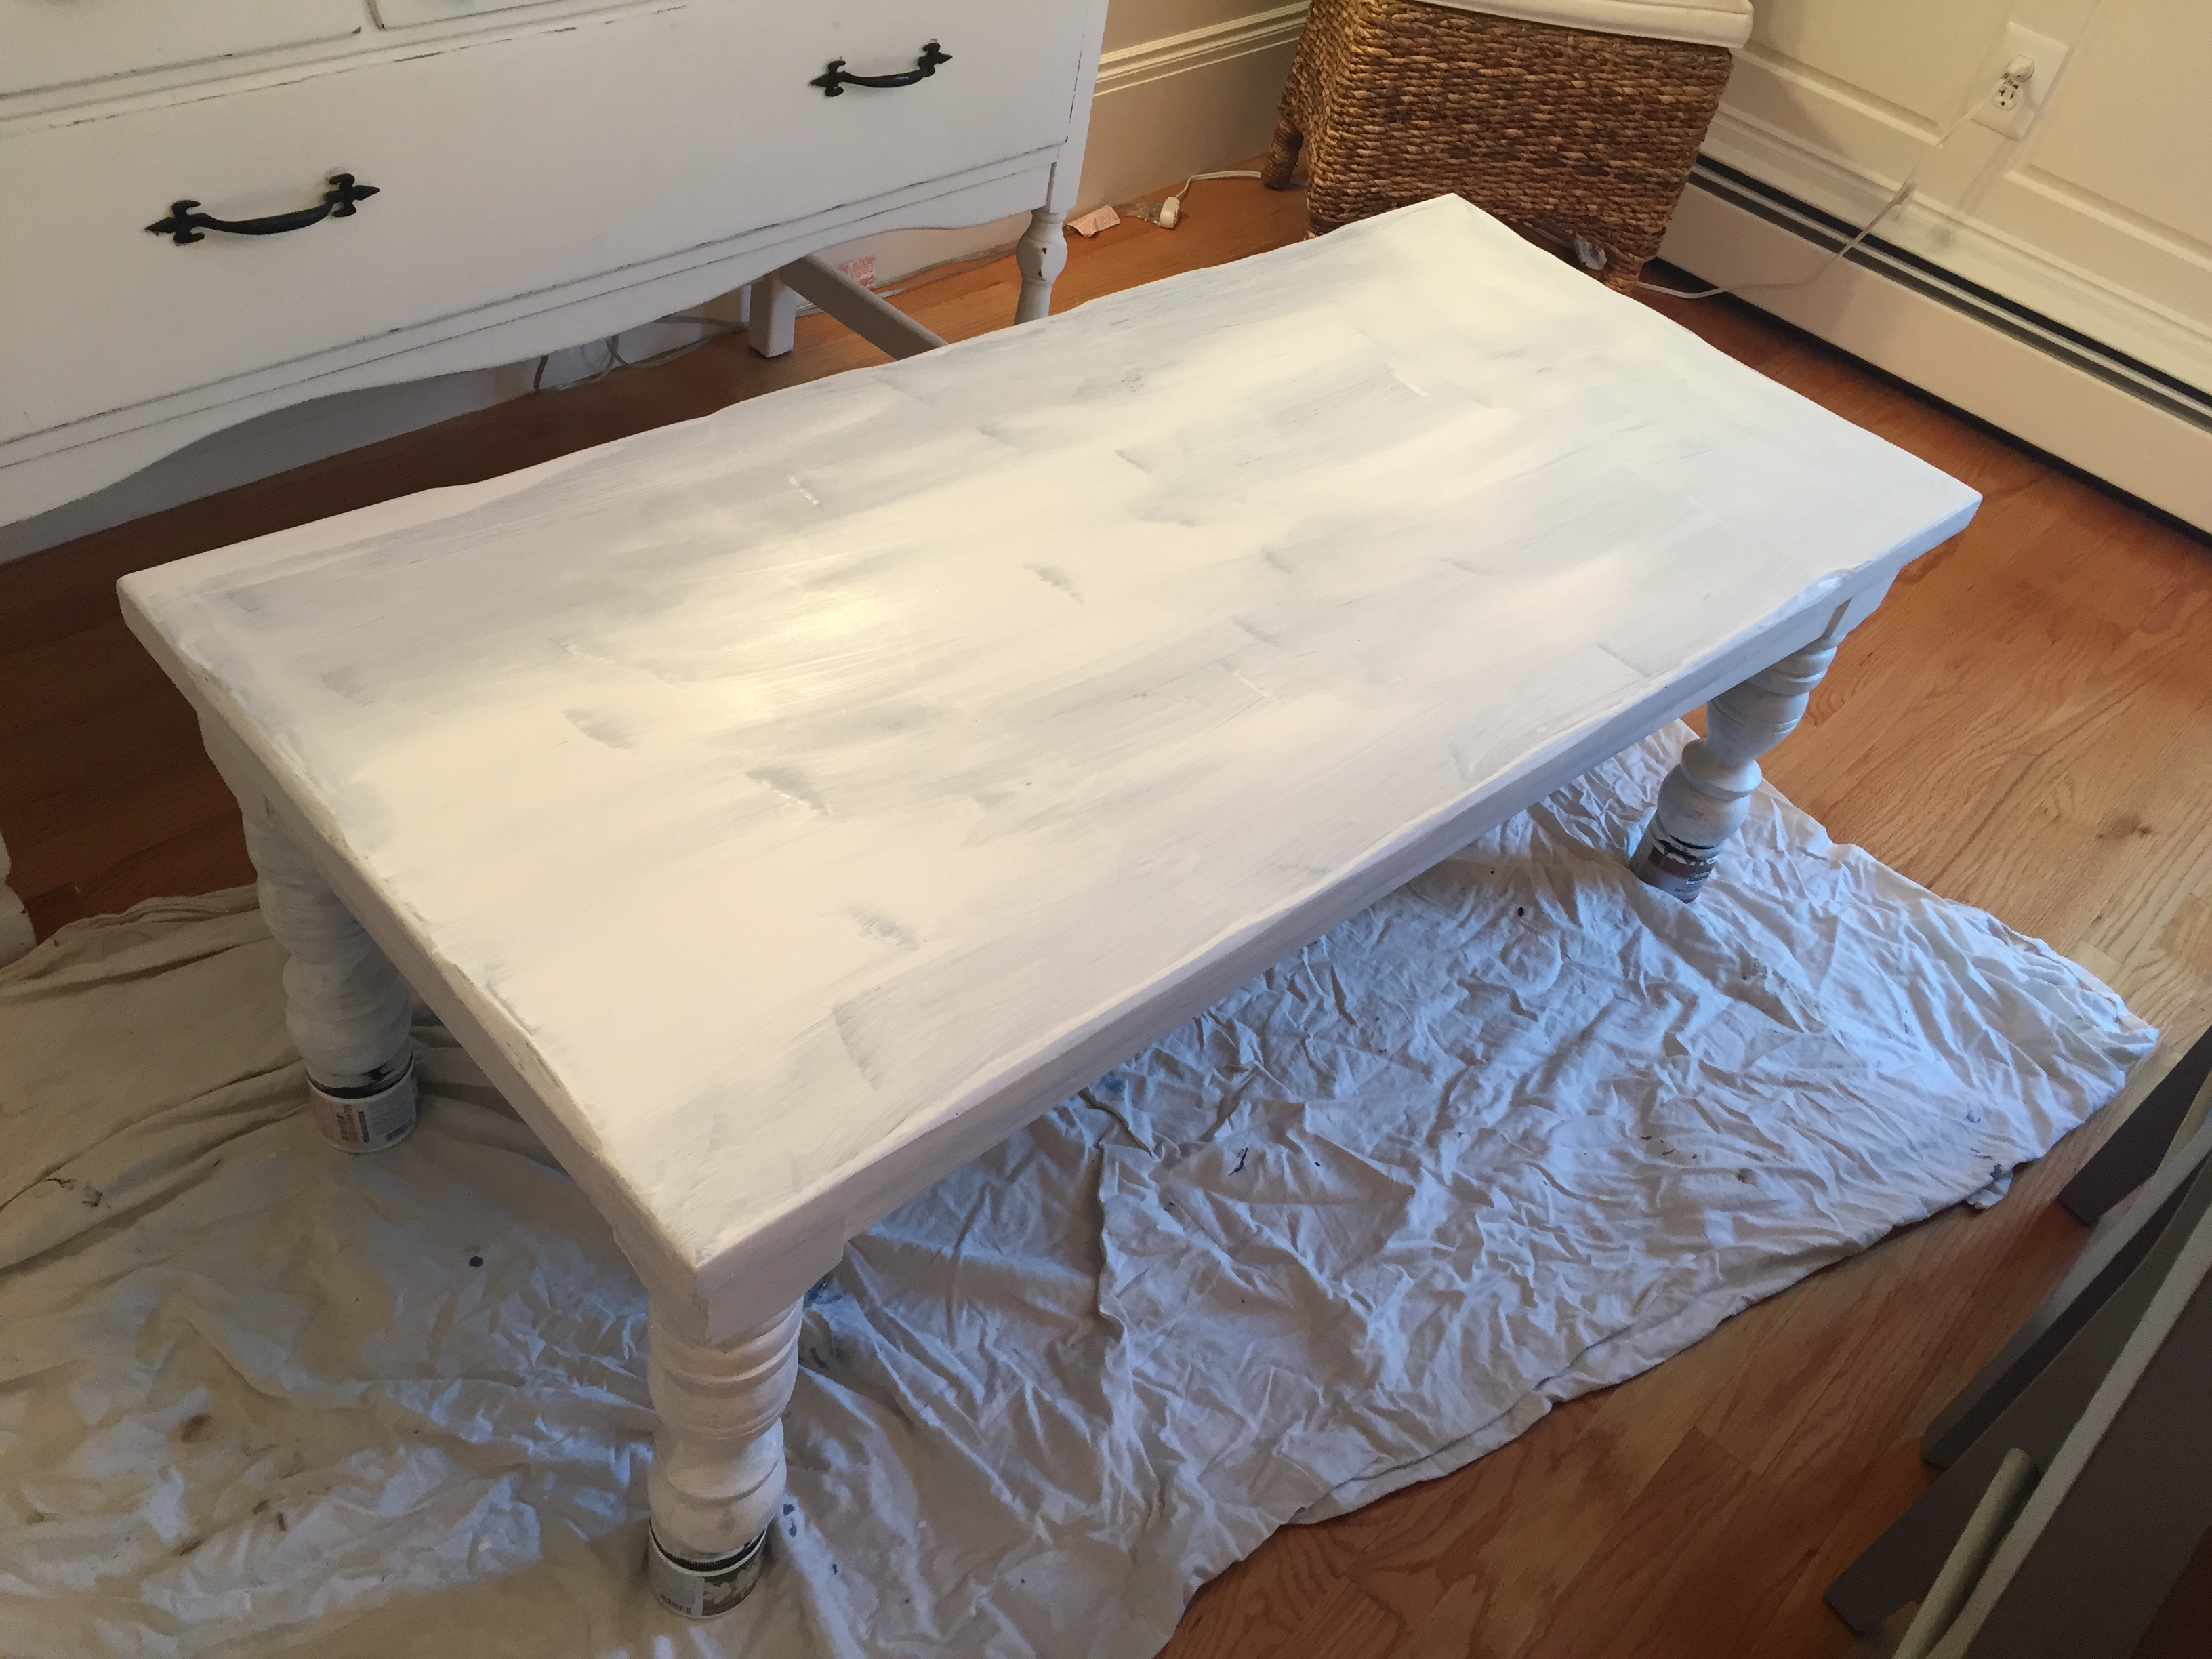
So we quickly filled this table up with Legos – I wanted to cry…. soooooo I set out to create yet another play surface and turned to trusty old Craigslist and found this great coffee table for $25!
I mixed up some chalk paint – for my chalk paint tutorial click here – https://towneandmain.com/diy-chalk-paint-2/
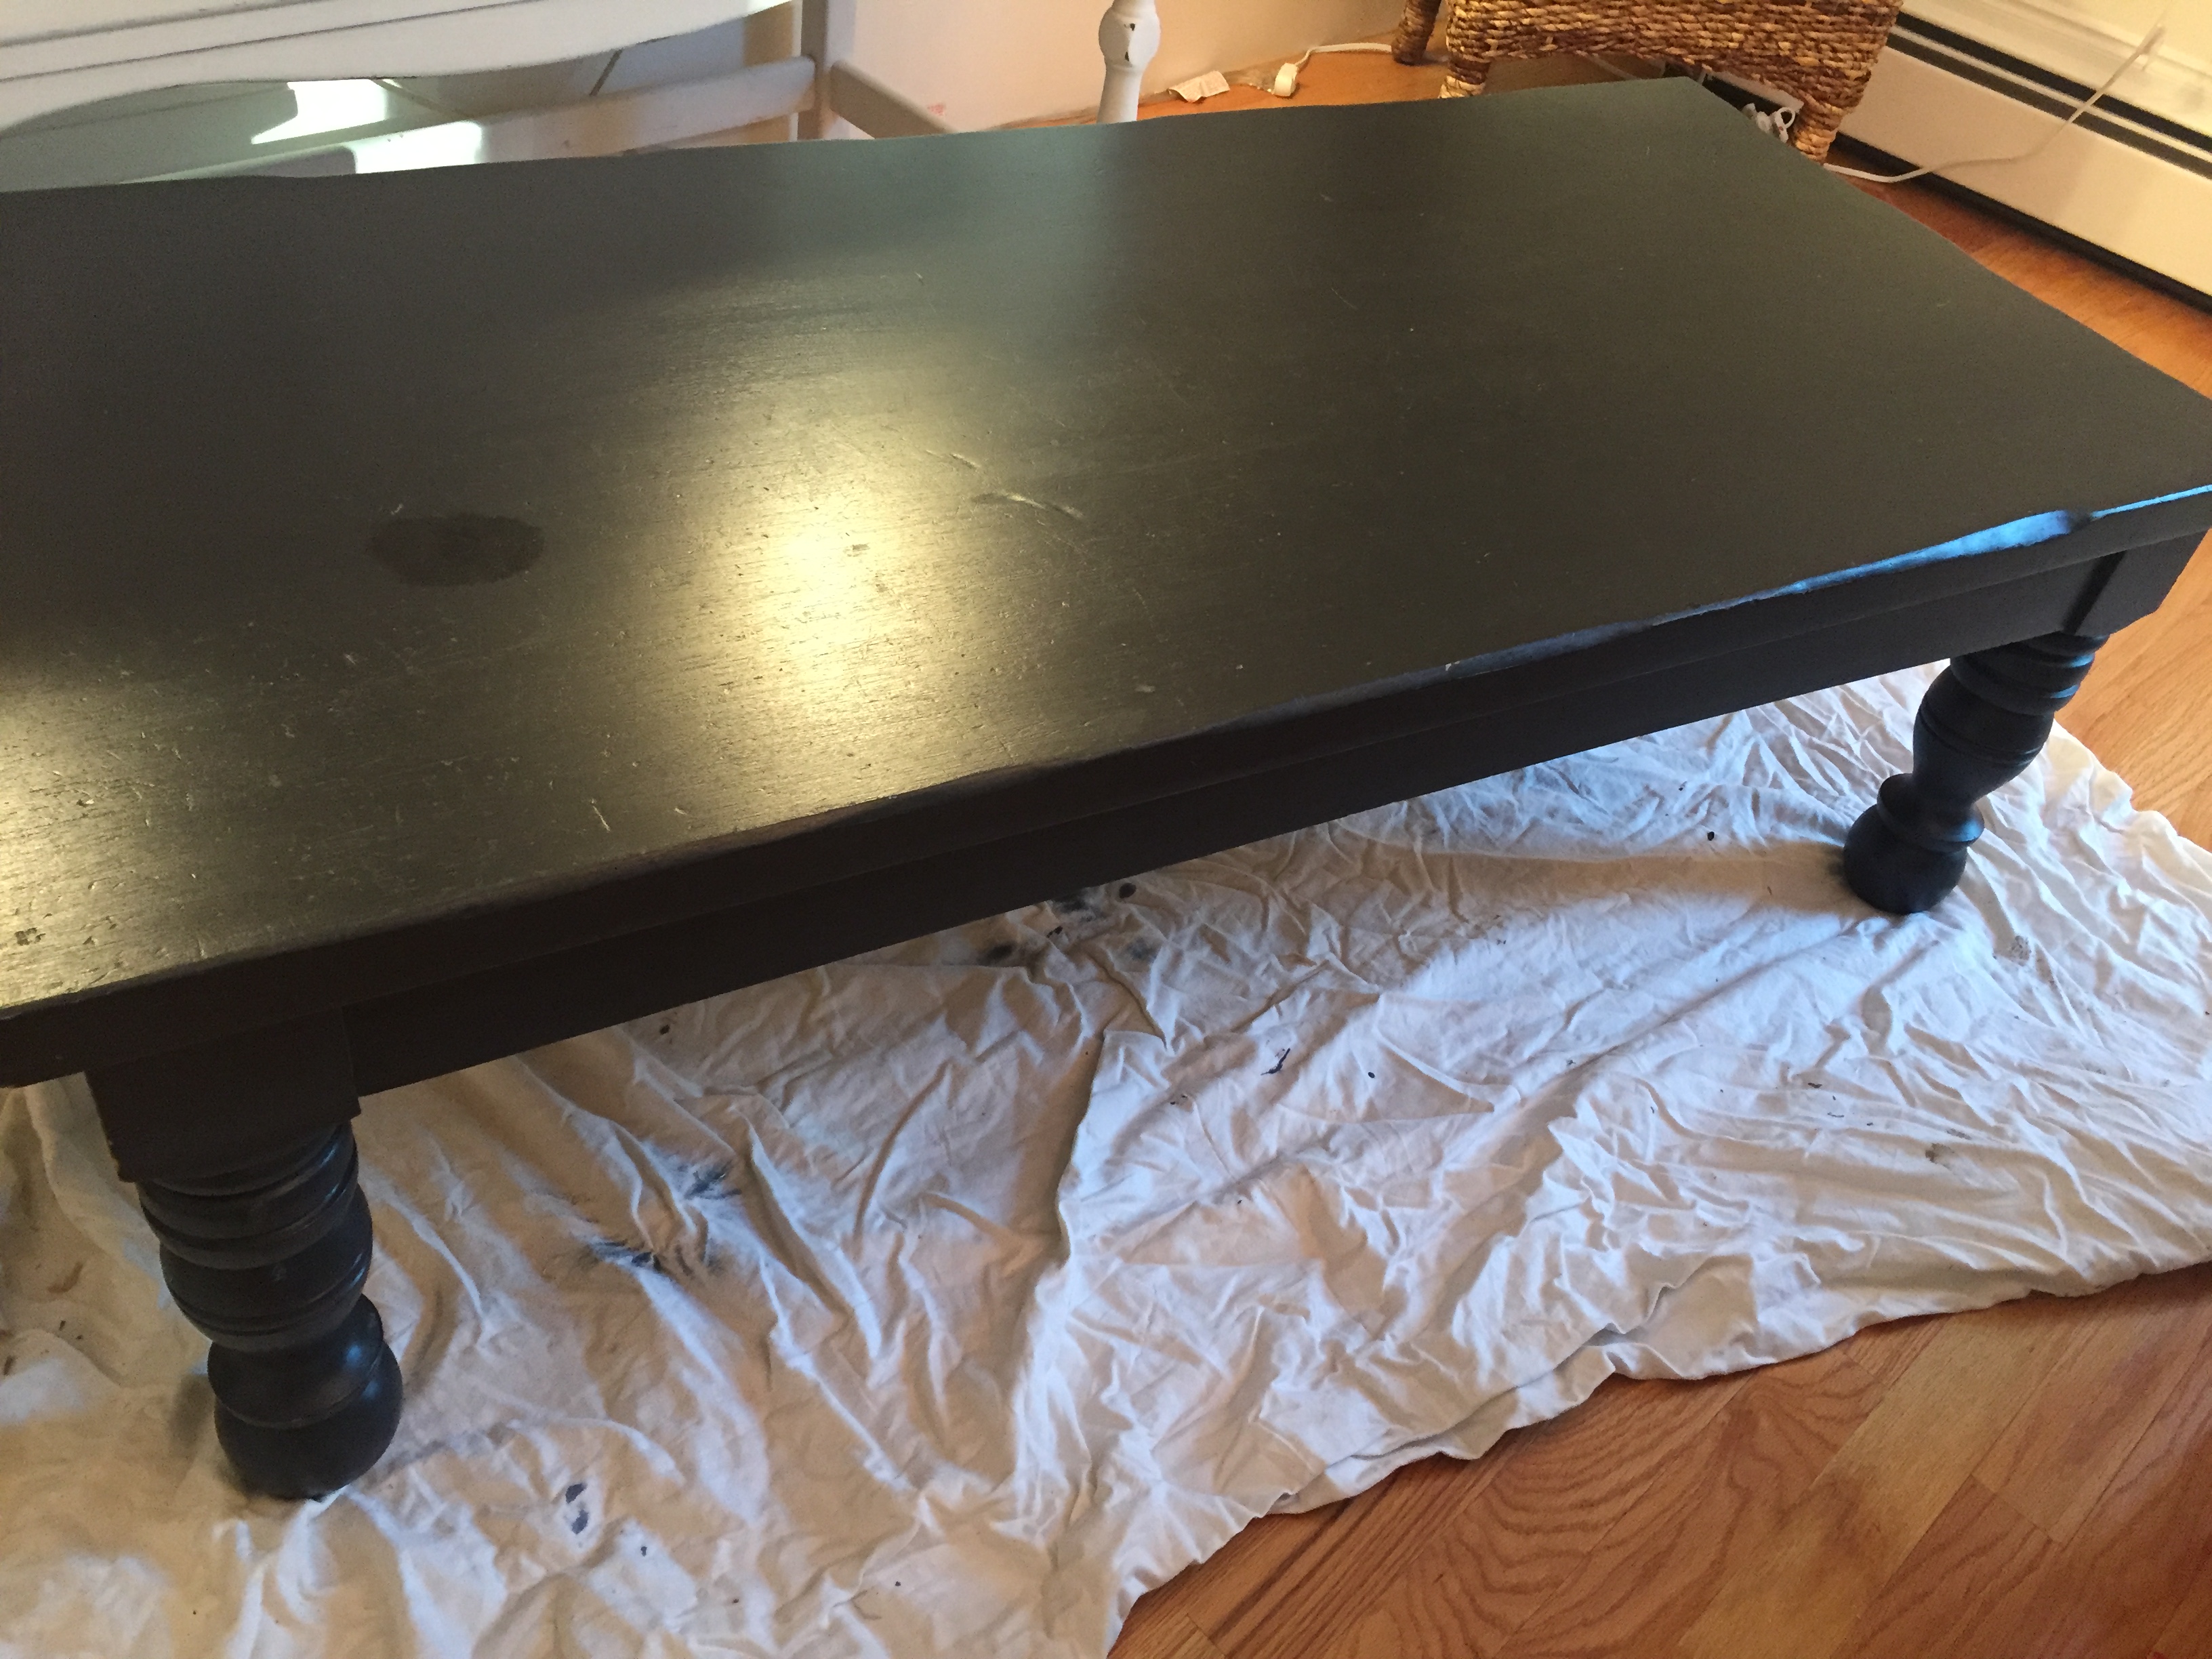
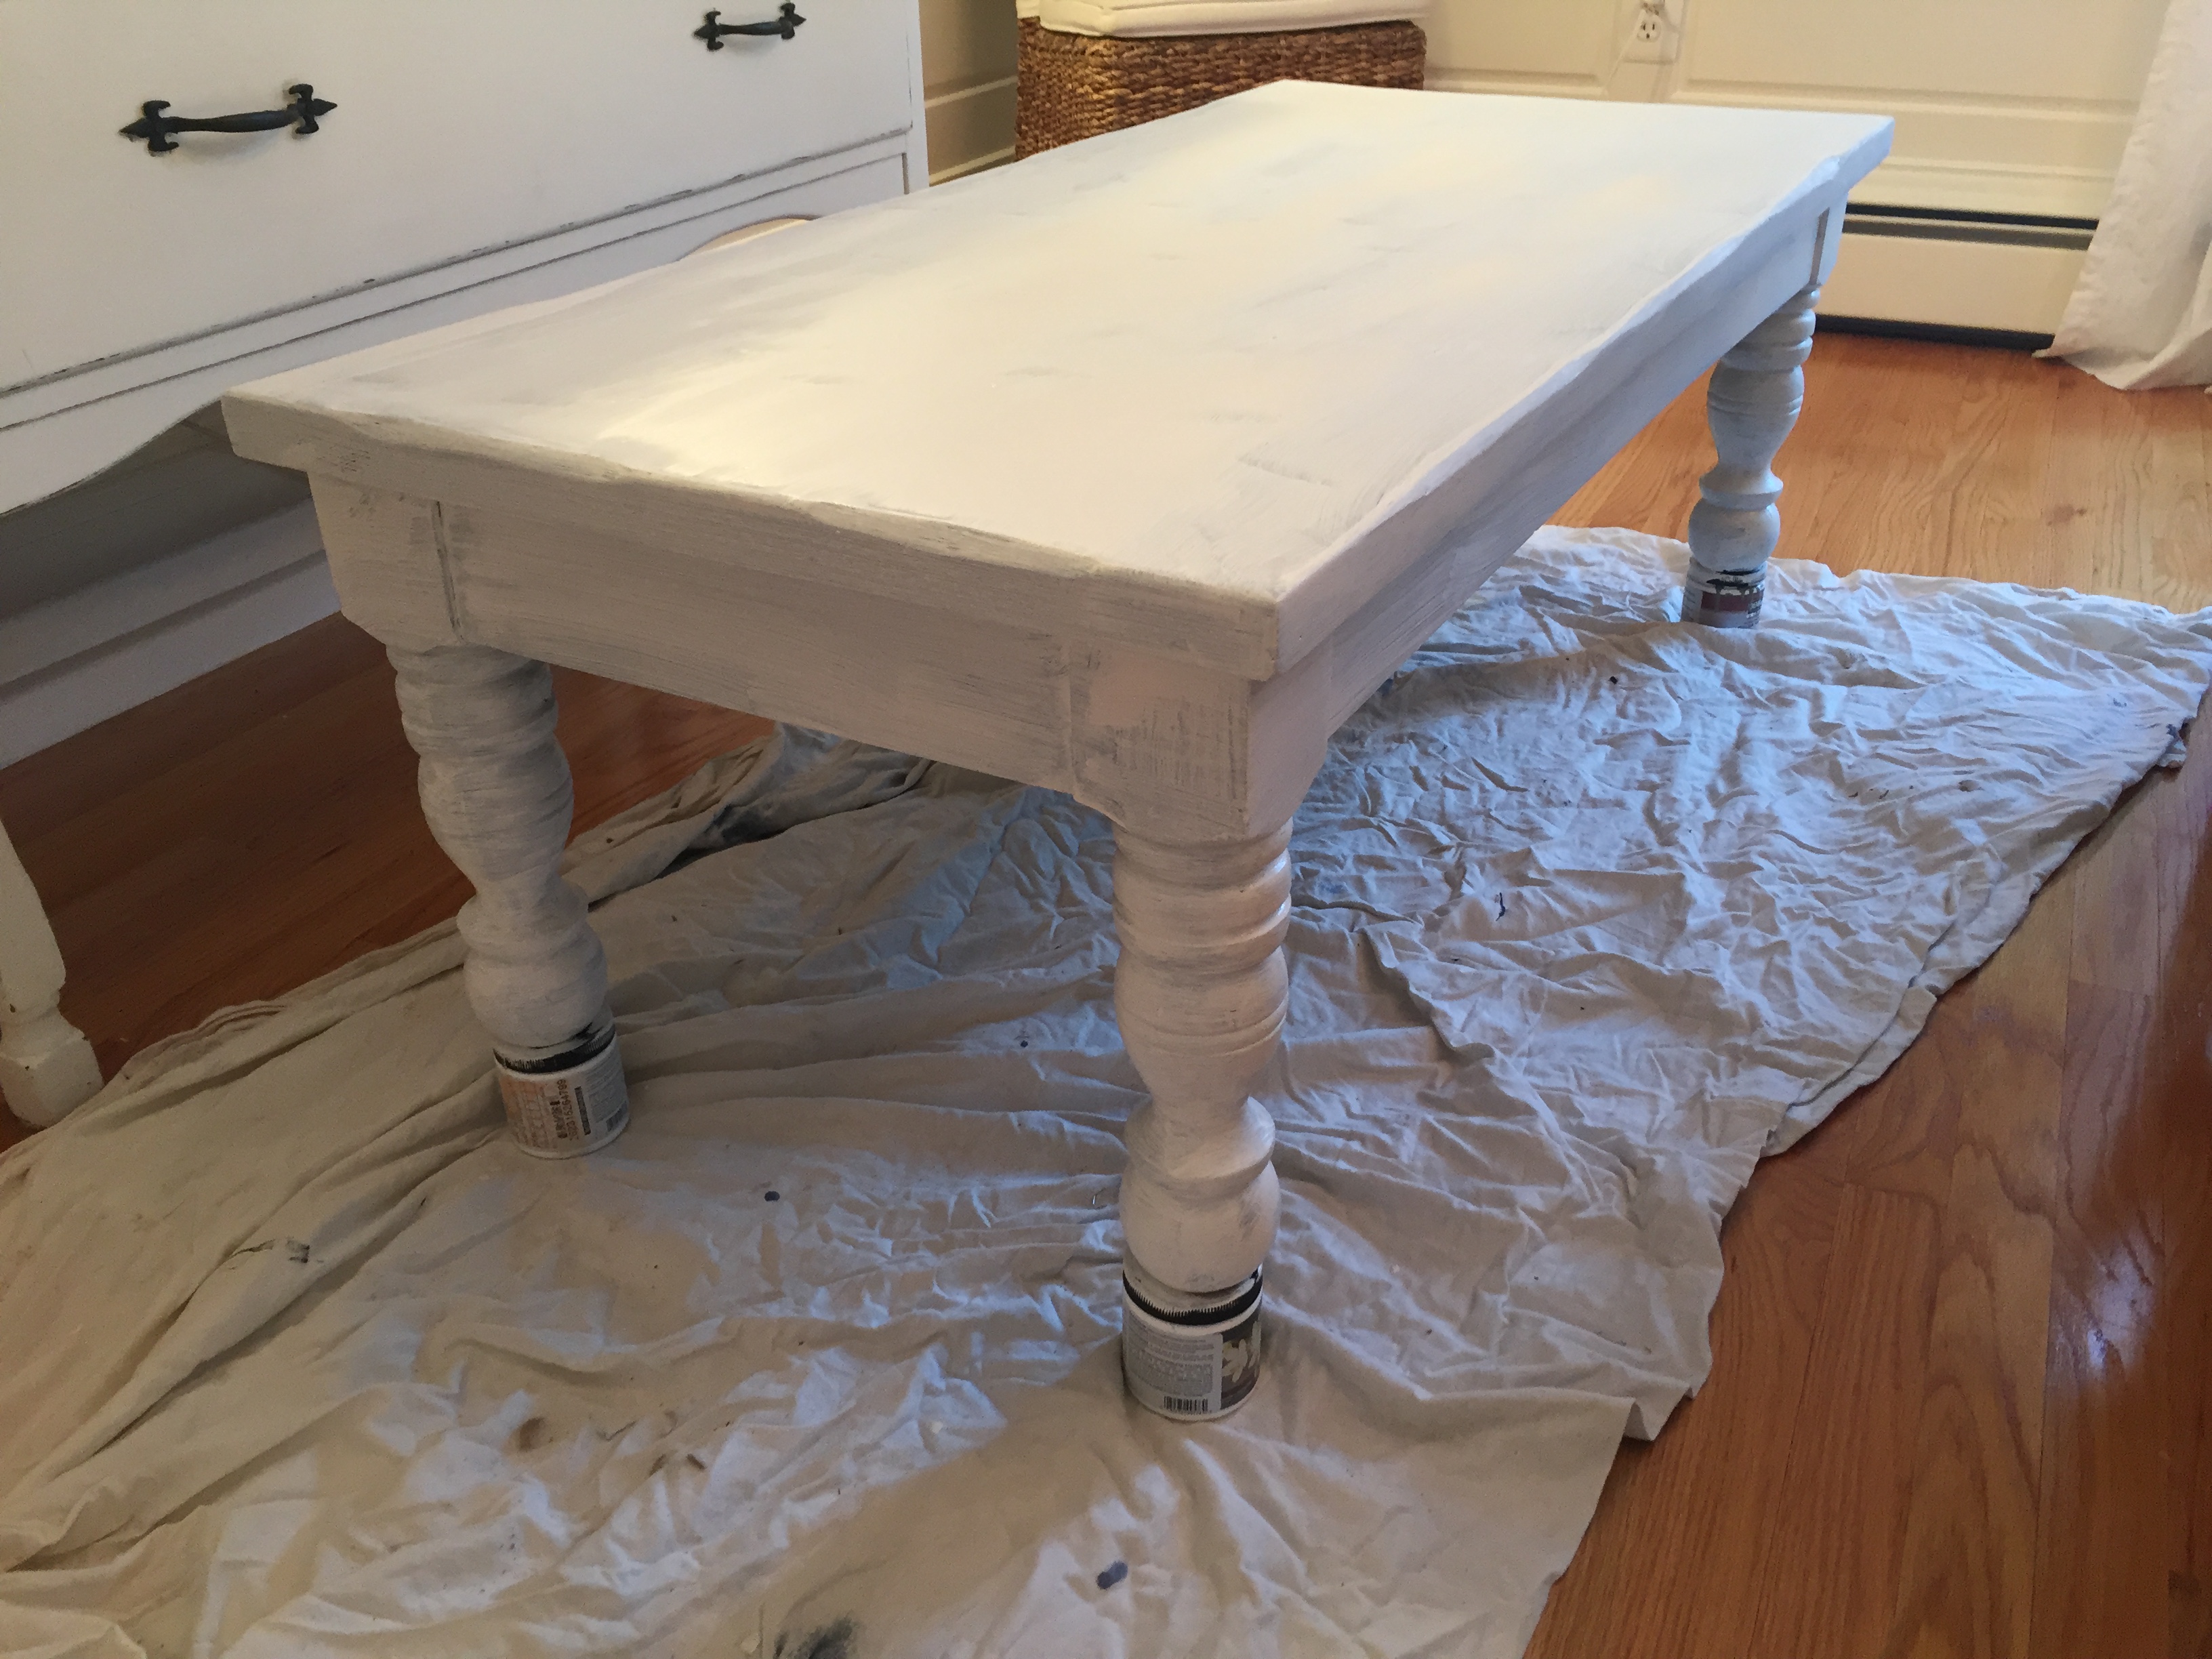
this guy needed 3 coats of chalk paint because my son said NO to distressing hahaha which is my go to finish when I do furniture projects, any wood projects for that matter….
Progress…
Once the 3rd and final coat dried I added my Lego plates, my son wanted roads to drive on so I found these on amazon – https://www.amazon.com/LEGO-Supplementary-Straight-Crossroad-Plates/dp/B00SZS3IDK/ref=sr_1_8?s=toys-and-games&ie=UTF8&qid=1515364901&sr=1-8&keywords=lego+plates
and these as well
added classic gray plates – https://www.amazon.com/LEGO-Classic-Gray-Baseplate-10701/dp/B00NHQF5ZO/ref=pd_sim_21_5?_encoding=UTF8&pd_rd_i=B00NHQF5ZO&pd_rd_r=R79FJV9FTJBKR8GV29V9&pd_rd_w=QraJK&pd_rd_wg=nsQMM&psc=1&refRID=R79FJV9FTJBKR8GV29V9
Used Loctite again and let dry with heavy objects on top – in this case paint cans, since I’m drowning in paint cans!
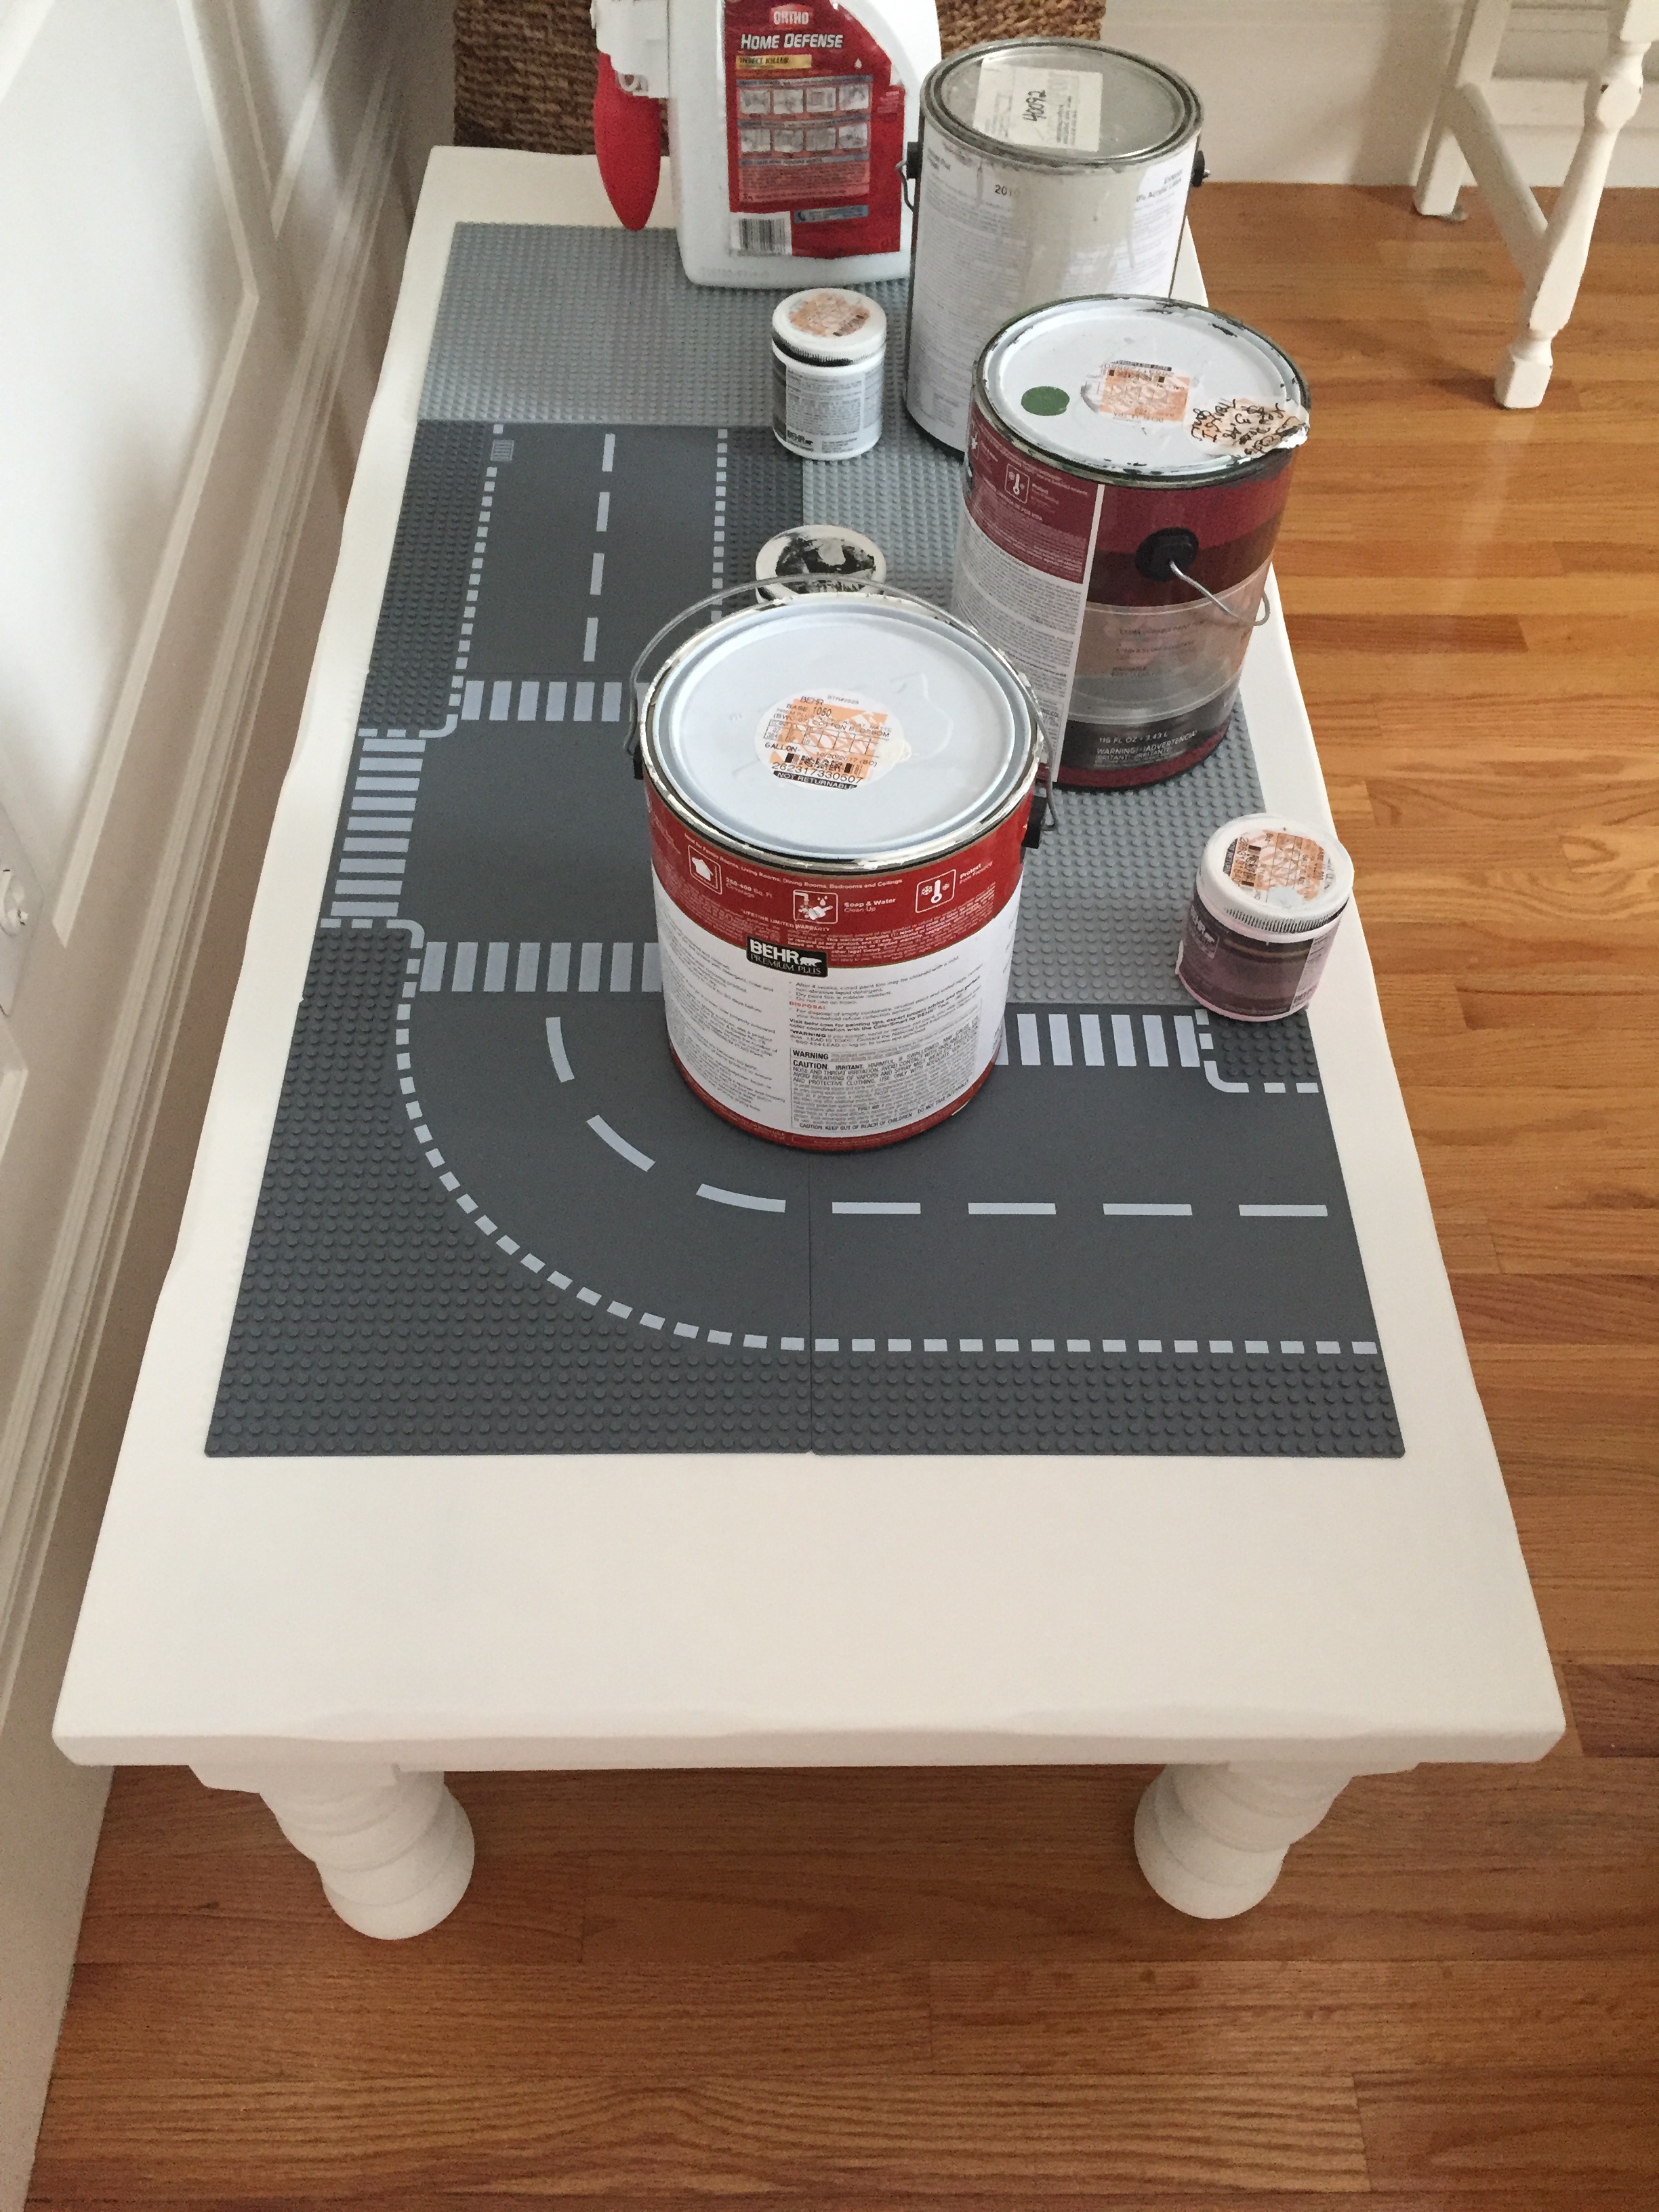
Let dry over night to be sure…
Sure enough is filled out with an amazing Lego city! mmmmm what’s next?


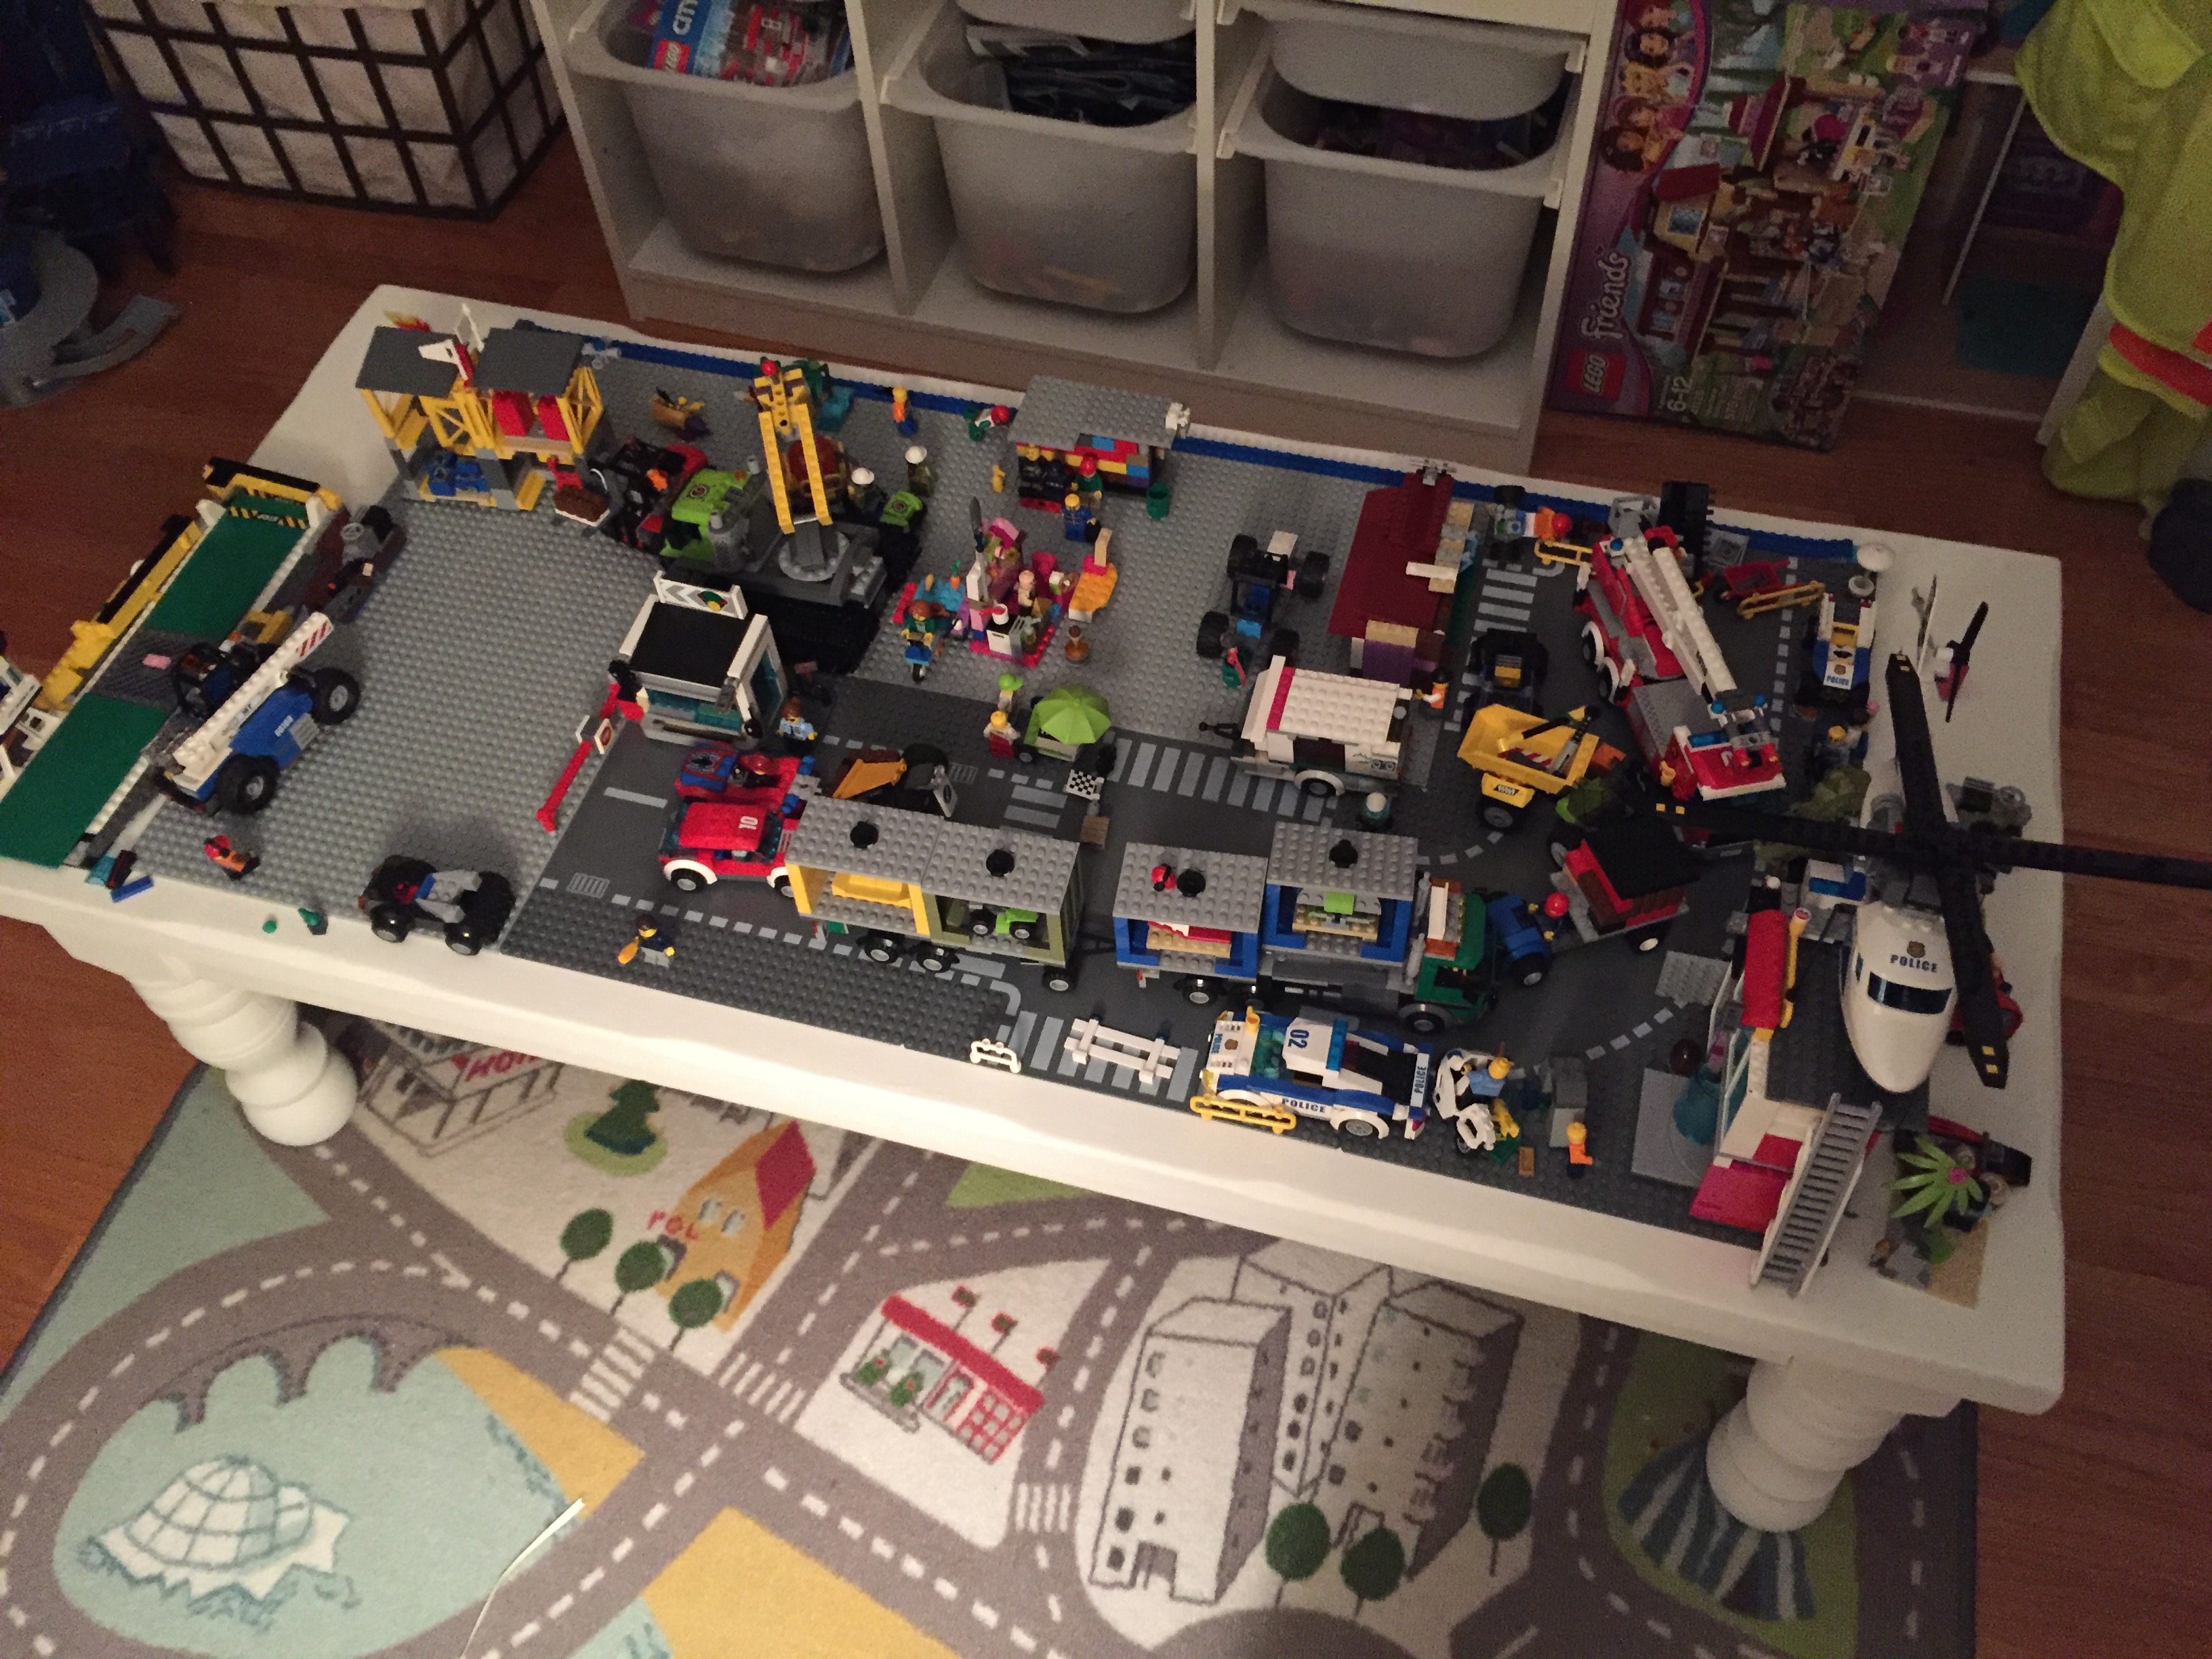

side note – Santa brought these really cool Lego sticky rolls to build up walls and stuff!!! I highly recommend!
